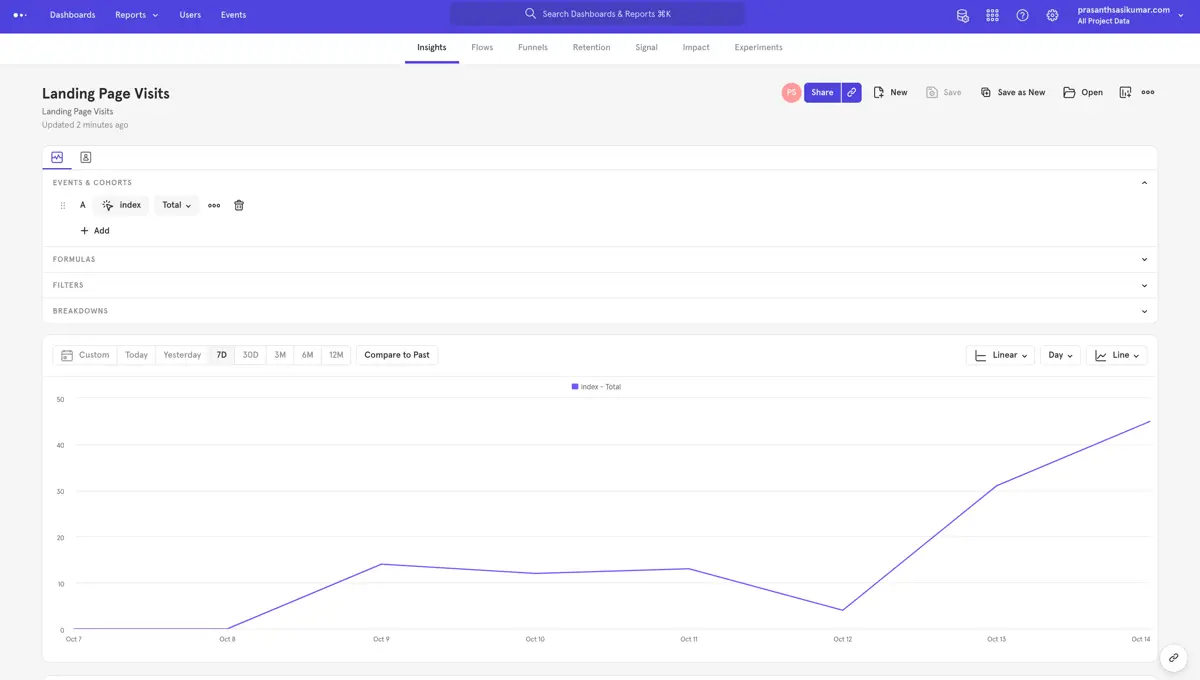
It's good to have the means to know the site traffic and where people spend time. Having that information in an easy-to-digest format is a bonus!
Given the requirement for monitoring site traffic, the obvious starting point is a quick Google search. Google Analytics often comes up as the default choice, and it’s free. But there are plenty of alternatives worth considering. One of them is Mixpanel: the free plan includes 100K monthly tracked users, which is more than enough for a small personal site.
The steps below can serve as a quick getting-started guide for Mixpanel. Their JavaScript documentation is neat and straightforward.
First, install the npm package via npm install --save mixpanel-browser. Once that's done, all we need is to add the following to the pages that we would like to track.
import mixpanel from 'mixpanel-browser';
// or with require() syntax:
// const mixpanel = require('mixpanel-browser');

// Enabling the debug mode flag is useful during implementation,
// but it's recommended you remove it for production
mixpanel.init('YOUR_TOKEN', {debug: true});
mixpanel.track('Sign up');
Initialize and track inside the mounted hook so it runs once the page is loaded.
  mounted: function(){
    mixpanel.init('xxxxxxxxxxxxxxxxxxxxxxx', {api_host: "https://xxxxxxxxxxxxxxxxxxxxxxx", debug: true});
    mixpanel.track('pageName')//Give the name of the page - prasanthsasikumar for root directory etc.
  }
That’s all there is to it. During testing, an ad blocker may block requests sent to Mixpanel. As a workaround, a proxy server can be used to effectively route around direct Mixpanel calls. More details are available here.
The proxy server can be deployed on Google Cloud using this. This enables tracking users and their behavior (anonymously, of course) even when they are using ad blockers.
