After getting the software side of things up and running, it is time to build the hardware, the cost-efficient way.

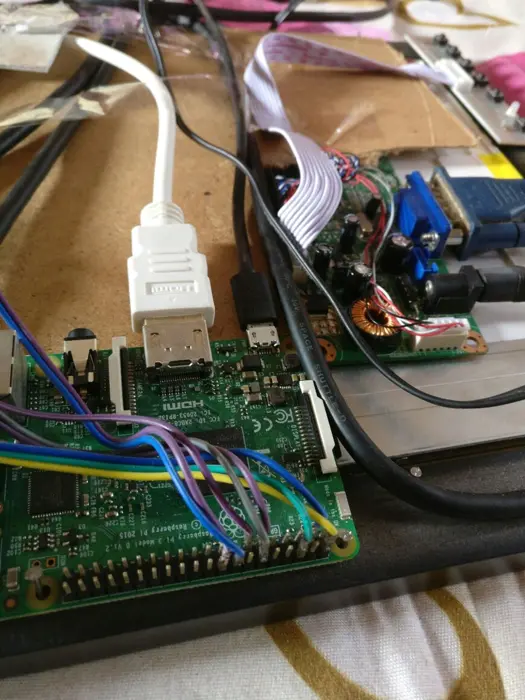
Within two weeks, JavaScript clicked and Atom became the editor of choice. The ordered components had arrived as well. Spending real money on a pet project was relatively unheard of in India at the time, so keeping costs low was a priority. Rather than buying a new display, the decision was made to repurpose a damaged LCD panel from an old laptop. The panel couldn't display red correctly and had a color tint, but it could show white, which was all that was needed. Paired with an LCD controller board converter kit from eBay, the result was a working monitor with HDMI input and external power.

With recovery underway and walking again, it was time to tackle the physical build. First up: sourcing a one-way mirror. A quick visit to a glass shop was all it took; the glazier cut a sheet to size on the spot. With the mirror and bare screen panel in hand, the next step was framing. An angle grinder and a standard plywood sheet kicked off the build. After a fair bit of fighting with the tools, what emerged was a very primitive frame, just enough to test the component layout.

The test frame was used to confirm the layout. A decent-looking frame was later made from prefabricated frame borders, which looked much cleaner.

MagicMirror: