Scavenging spare components from the MagicMirror project to build something cool!
A few LED strips were bought alongside the sensors for the MagicMirror project. After the frame was built, enough framing material was left over to make another. After seeing YouTube creators use logo displays as part of their desk branding, a similar version seemed worth building.
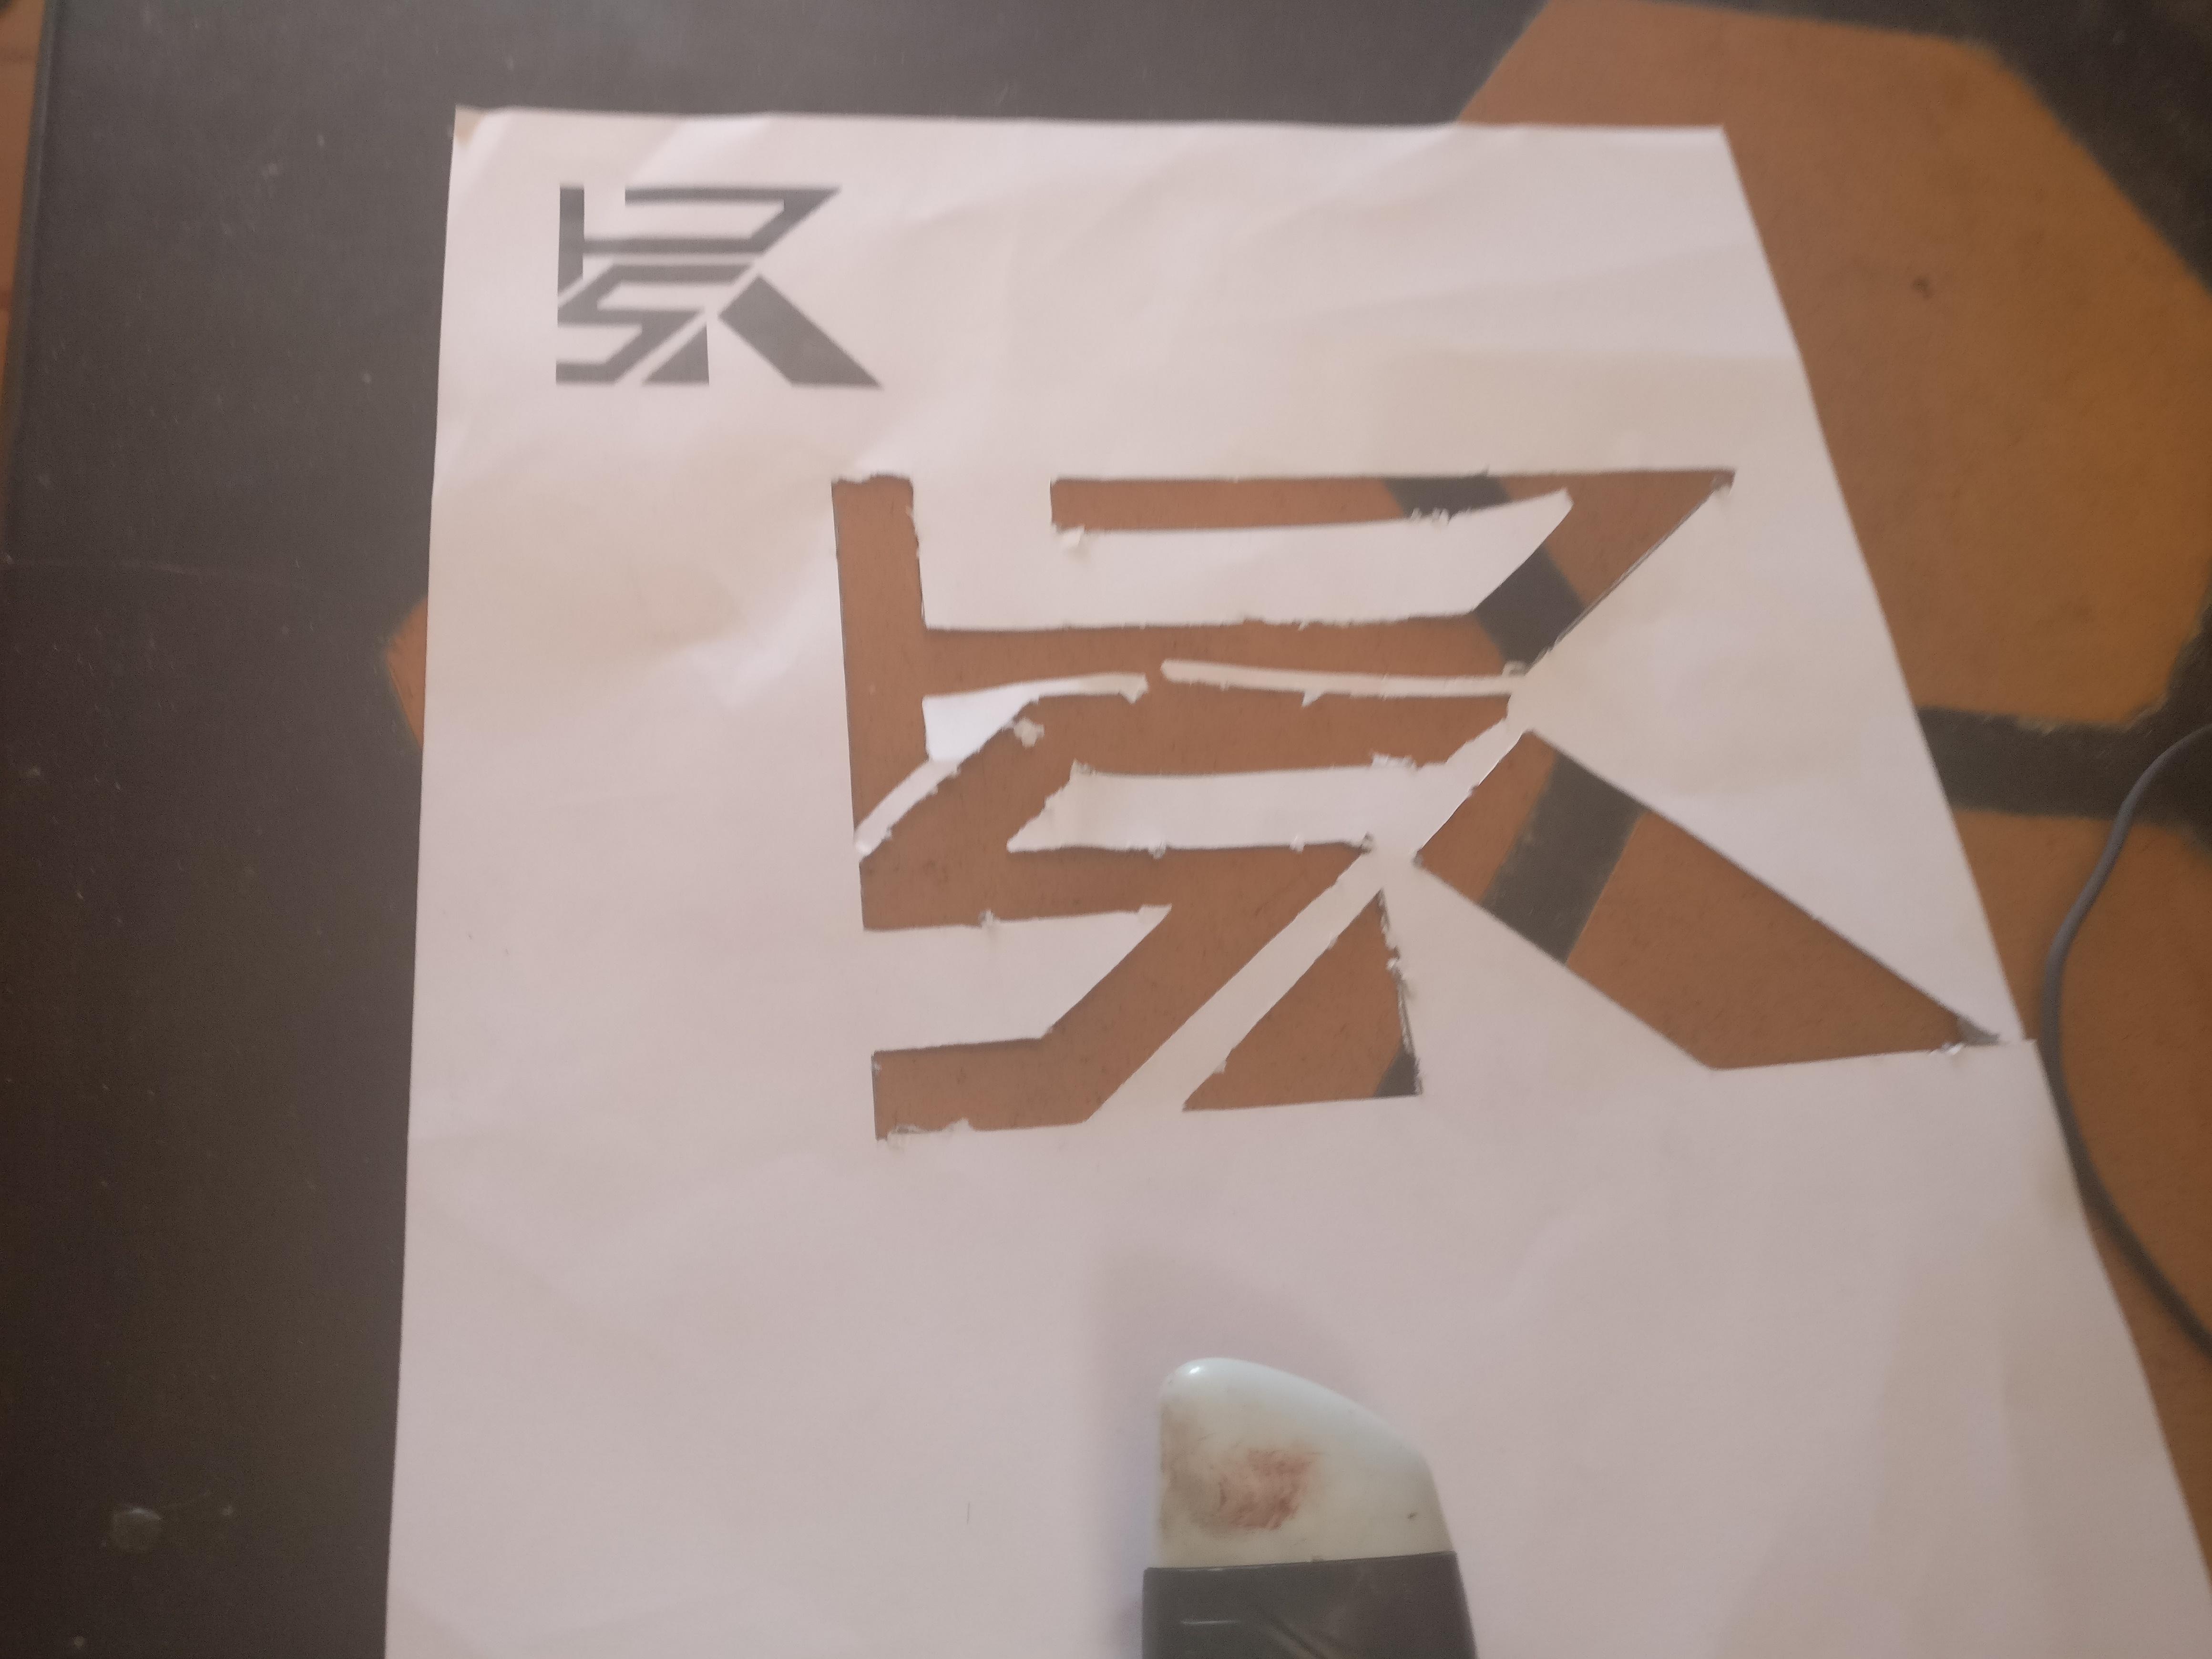
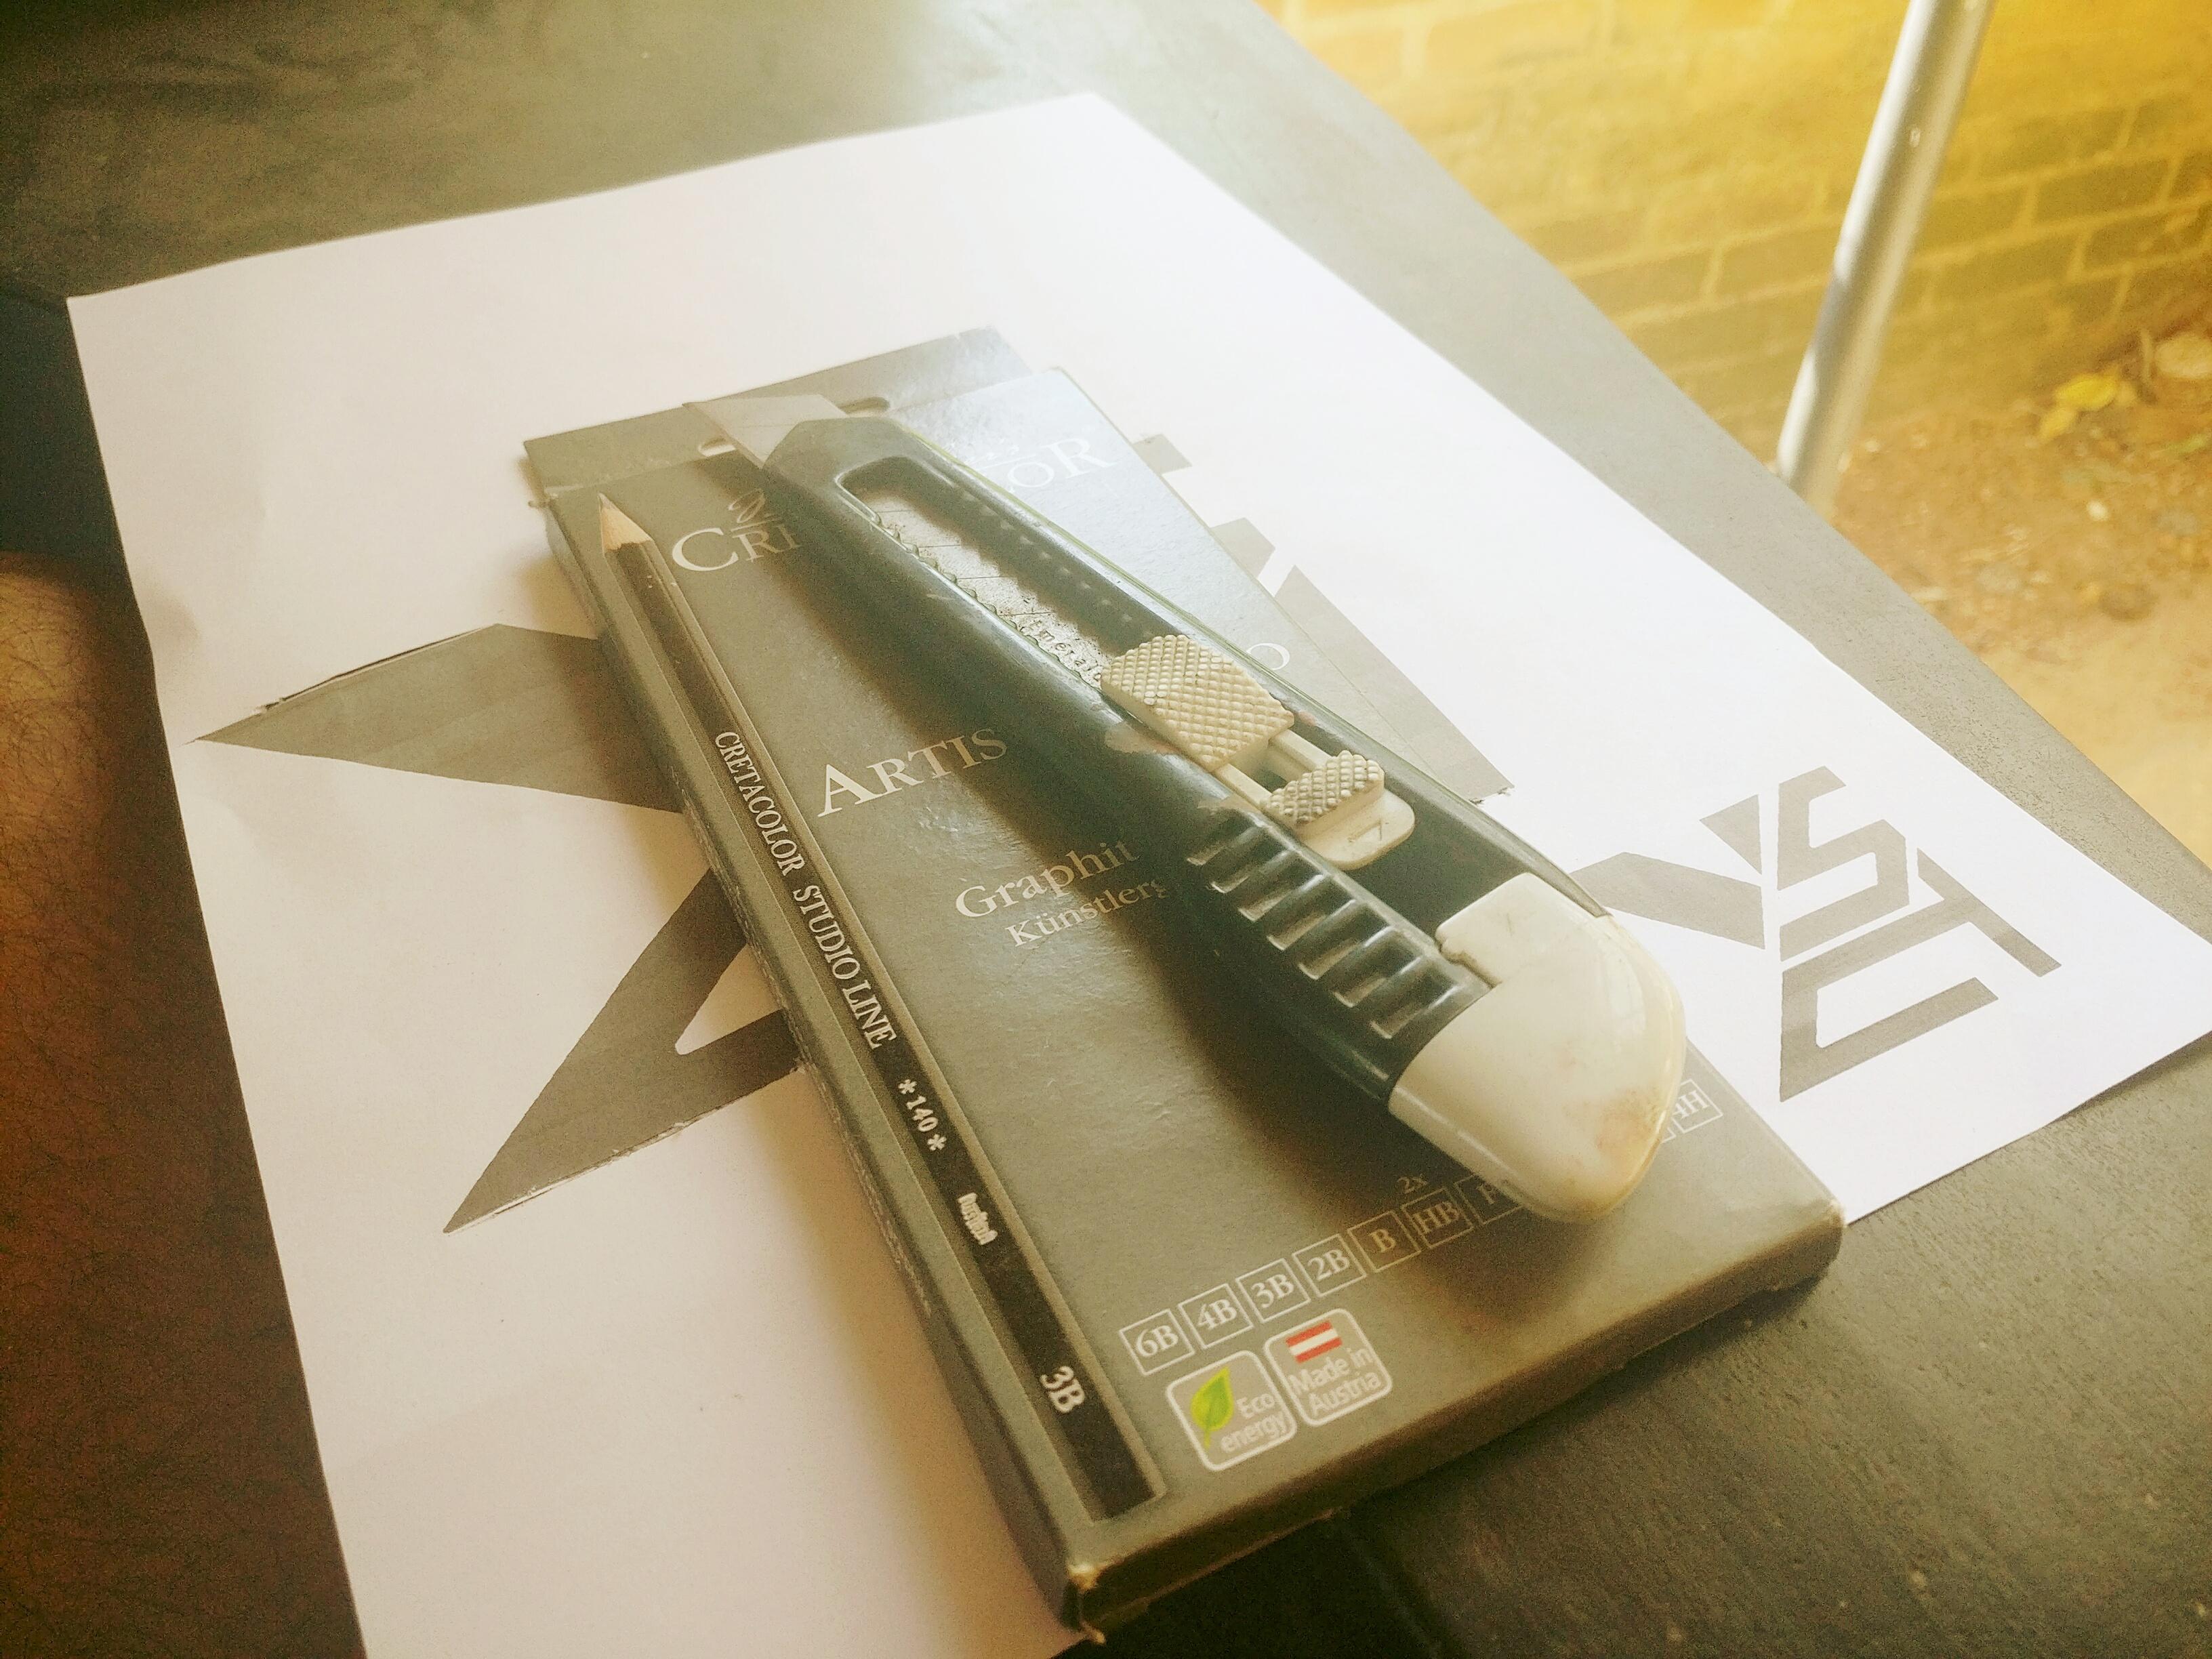
The logo was printed on an A4 sheet and a stencil was cut out using a craft blade.
A 10mm acrylic sheet was sourced and the stencil was laid on top.
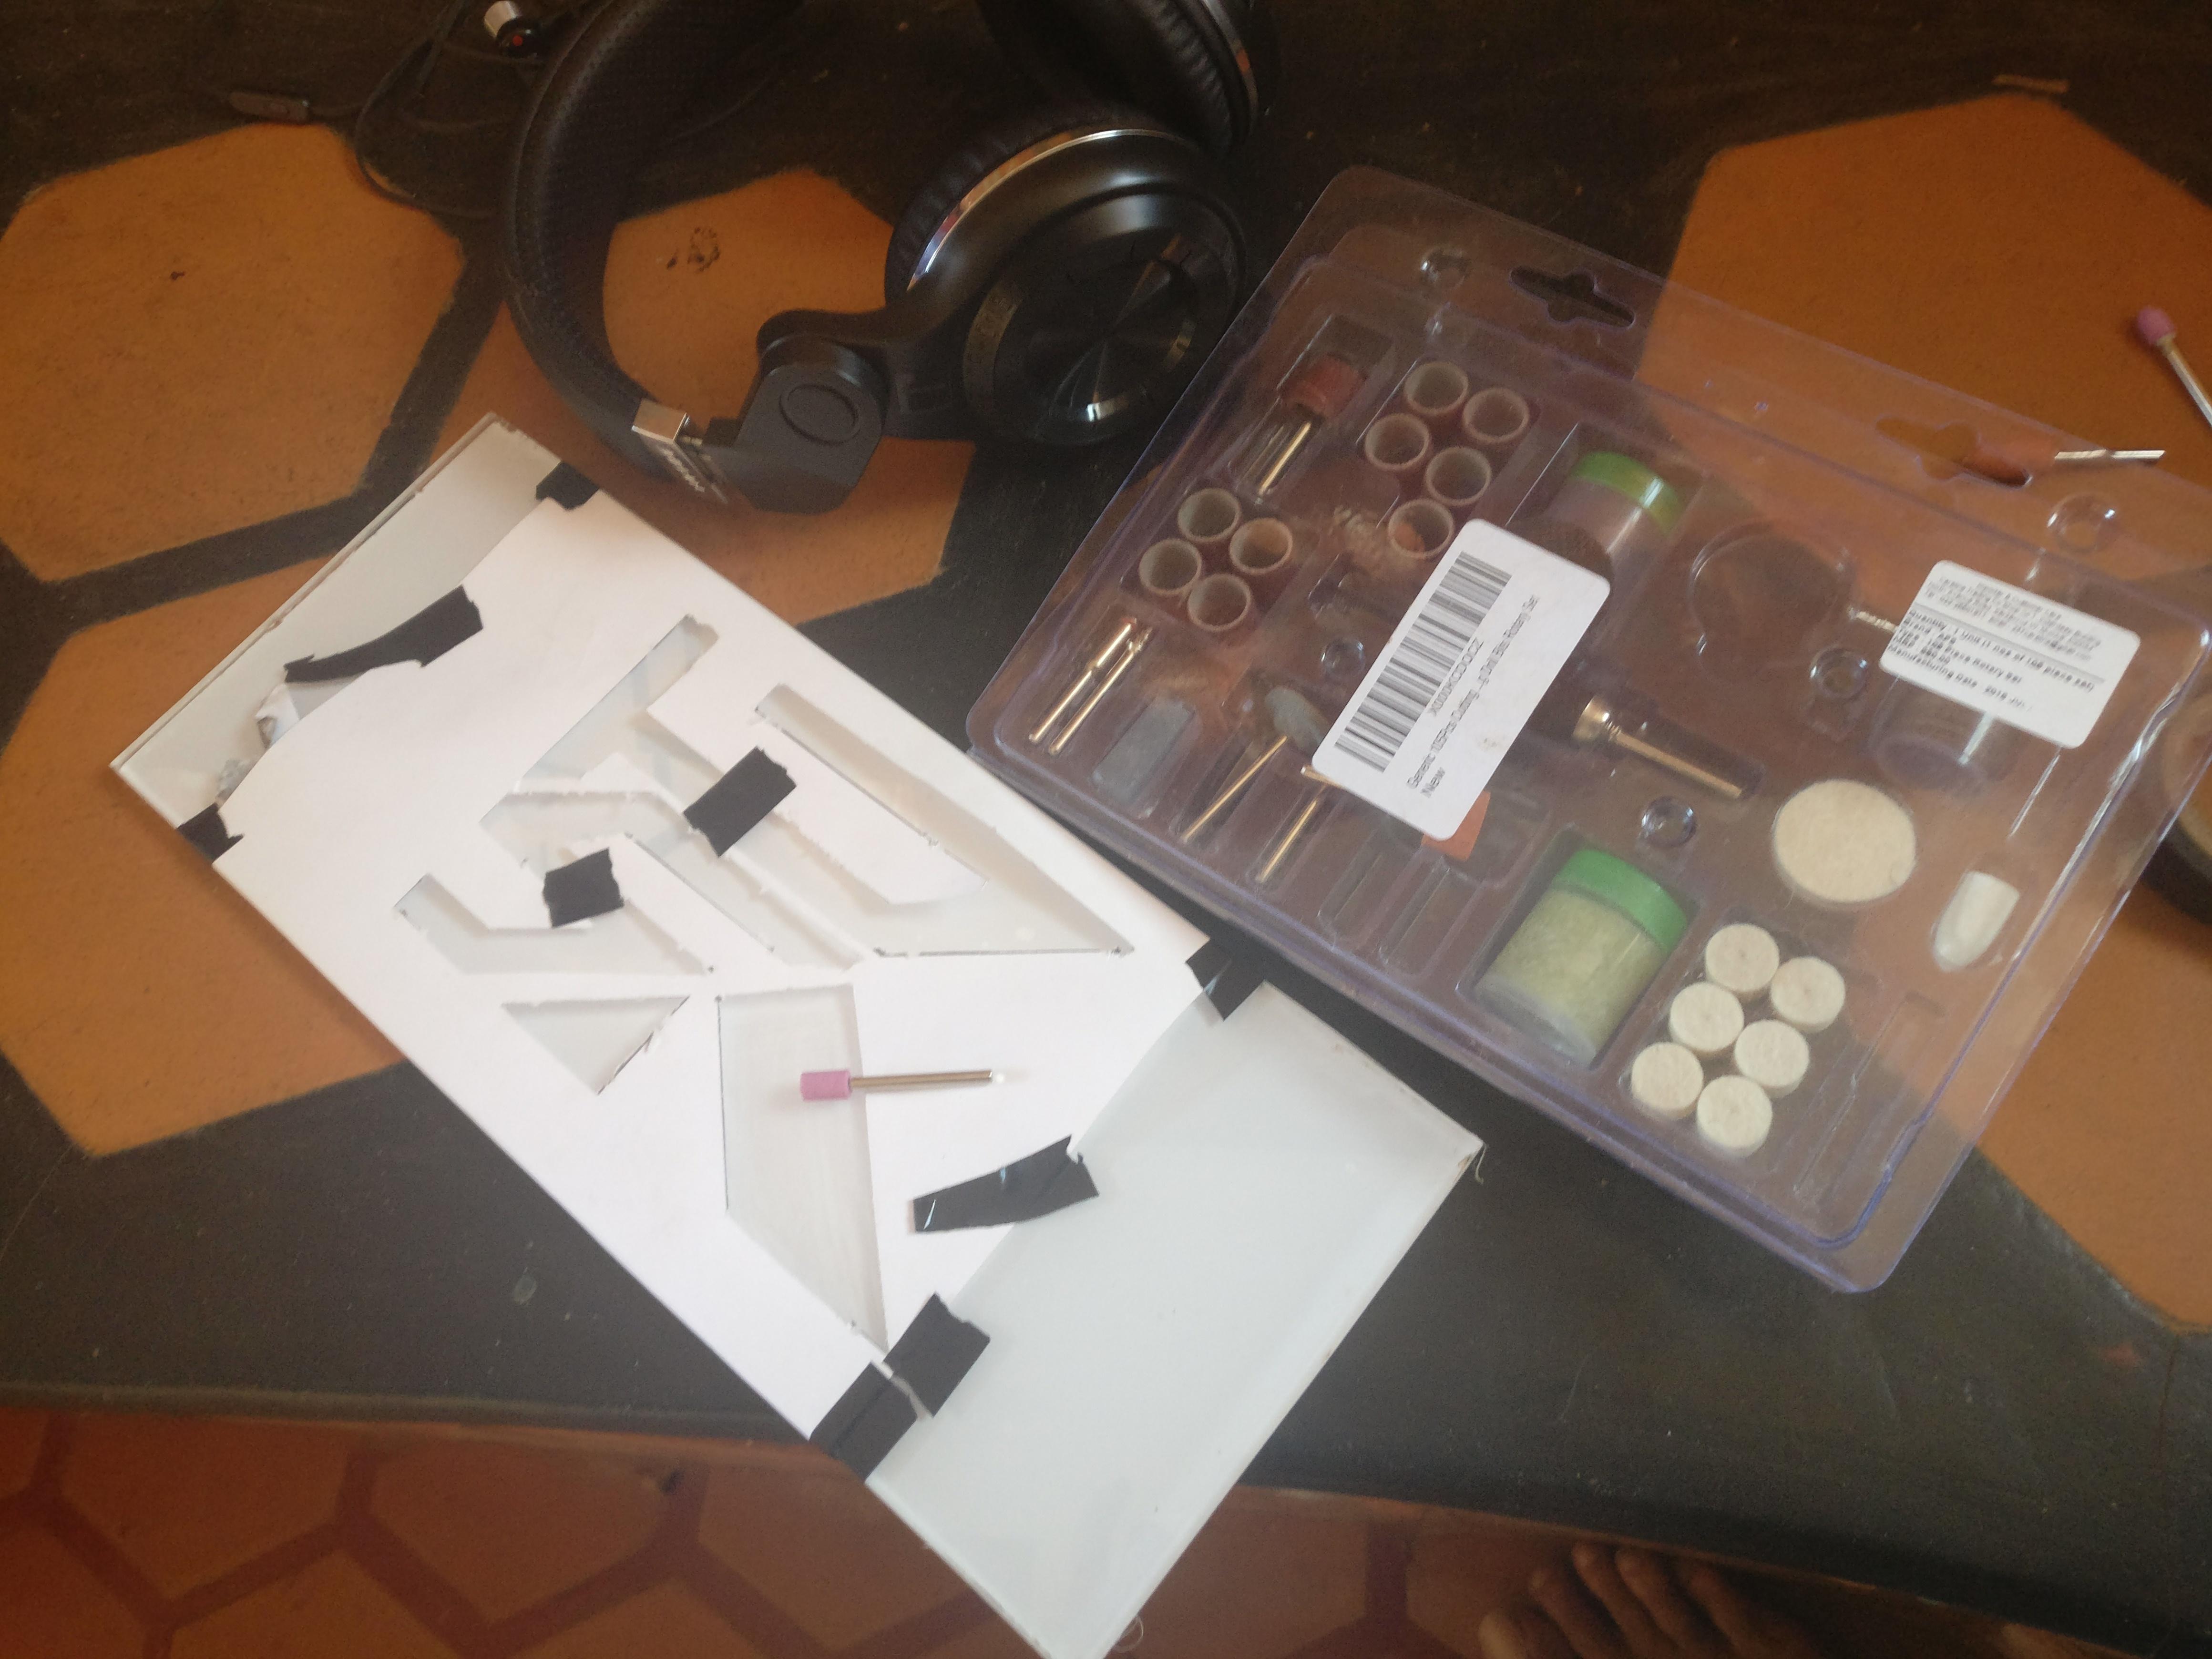
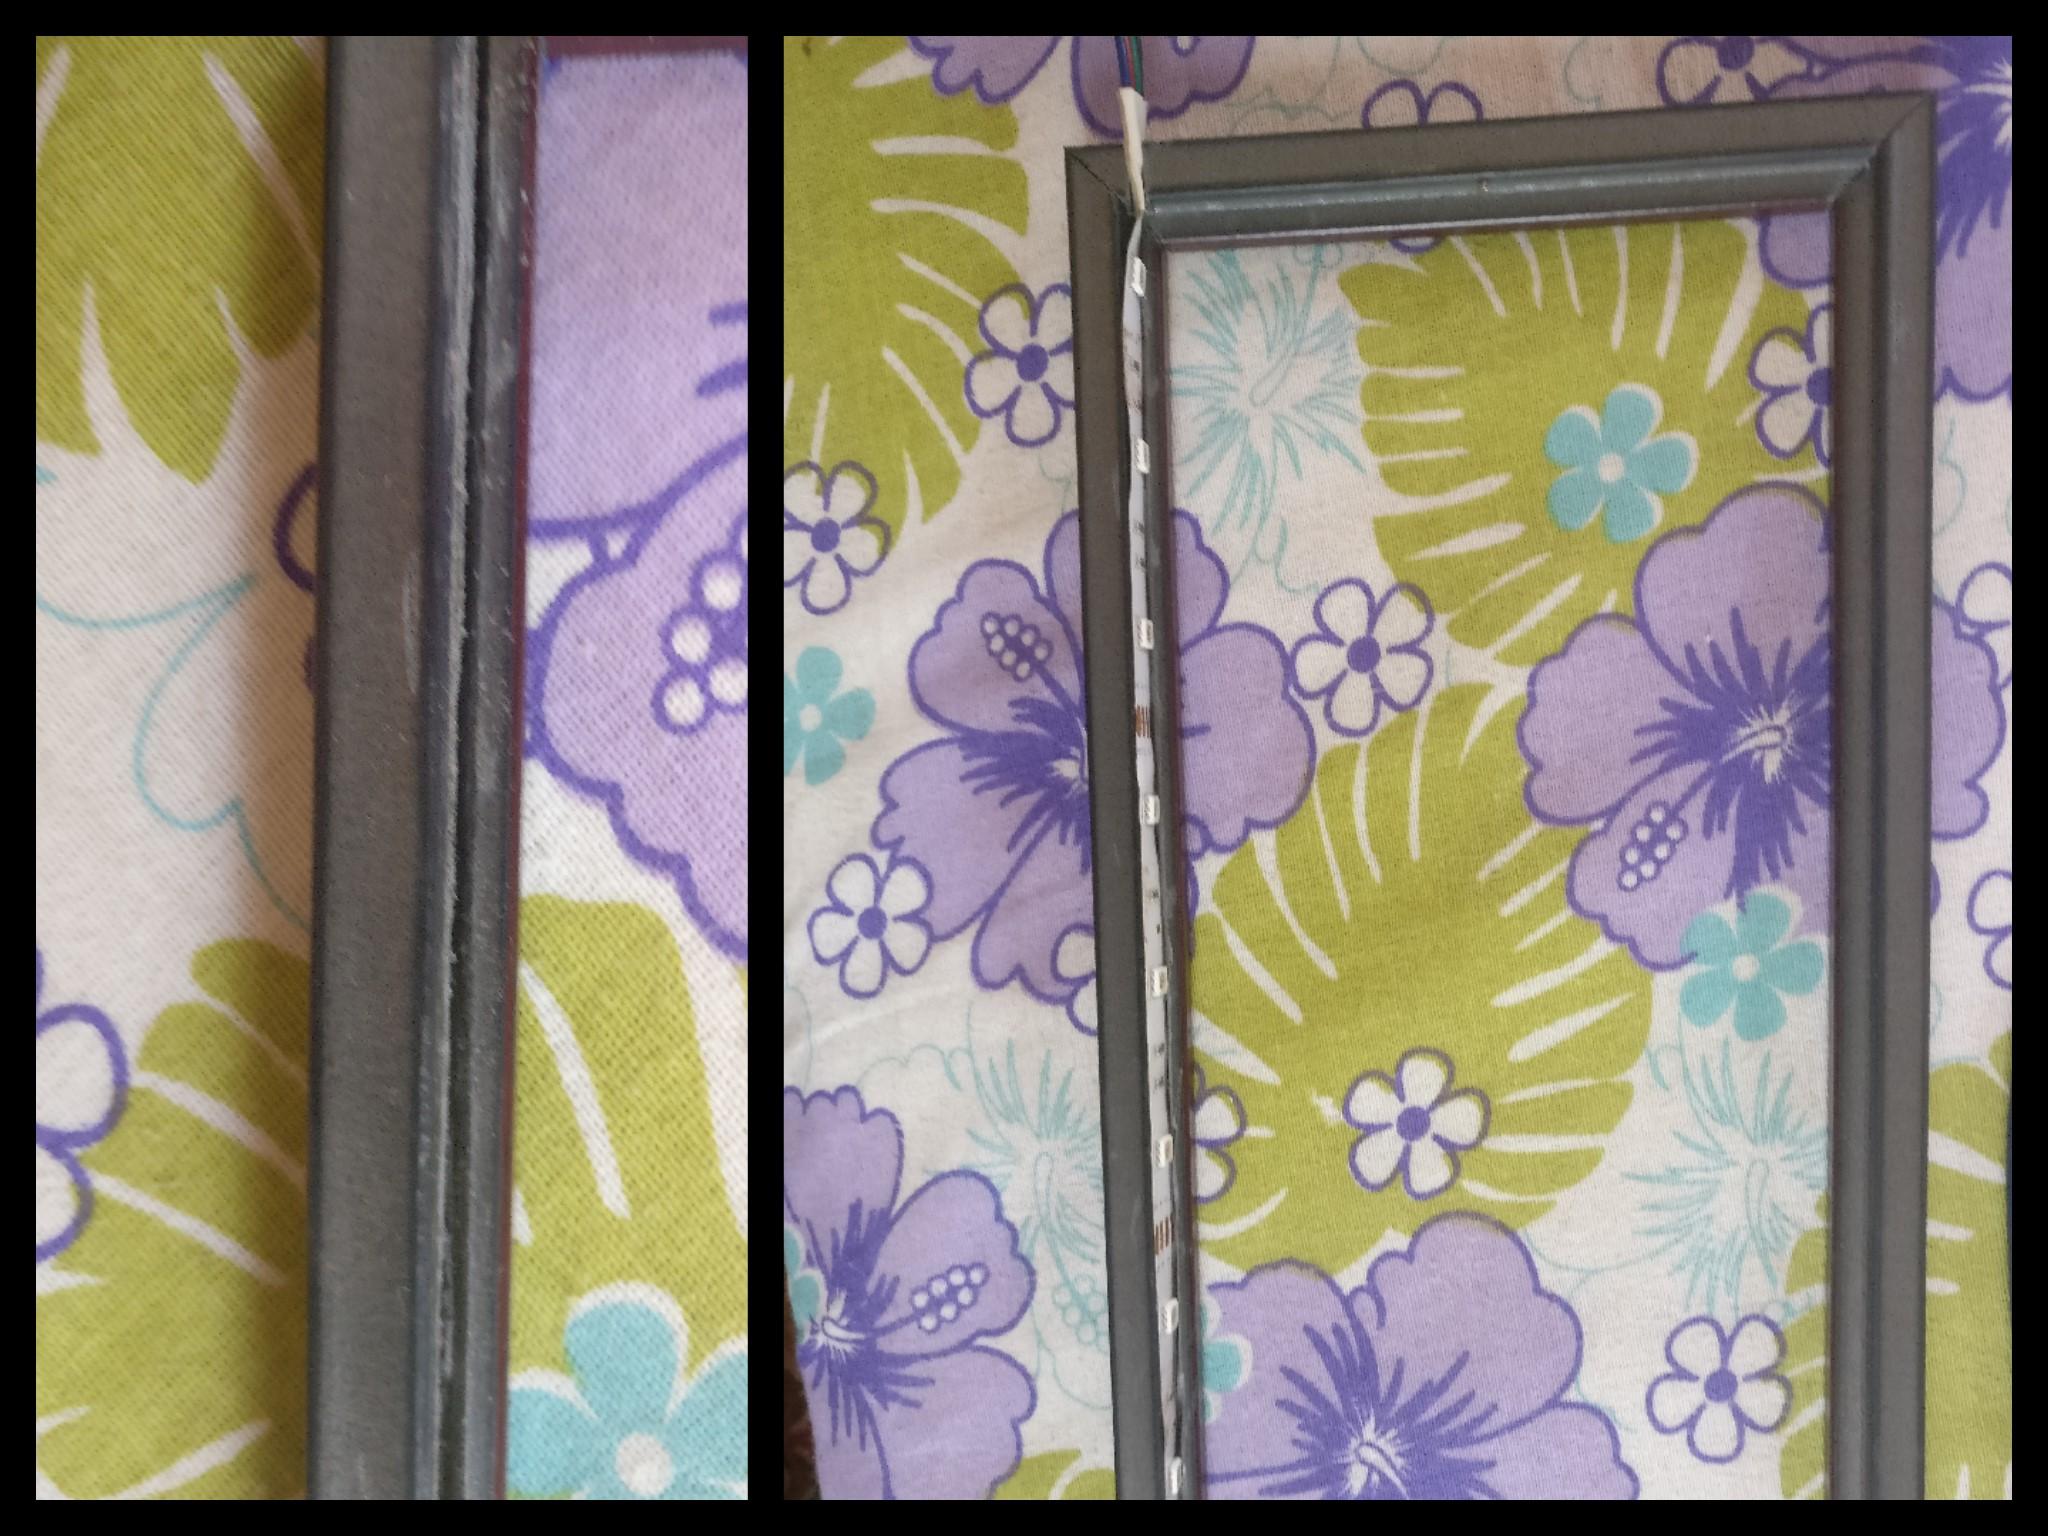
A rotary tool was used to scratch up the surface exposed by the stencil. The frame was wrapped around the acrylic sheet, grooves were made for the LED strip, and an RF controller was connected to manage the light patterns.
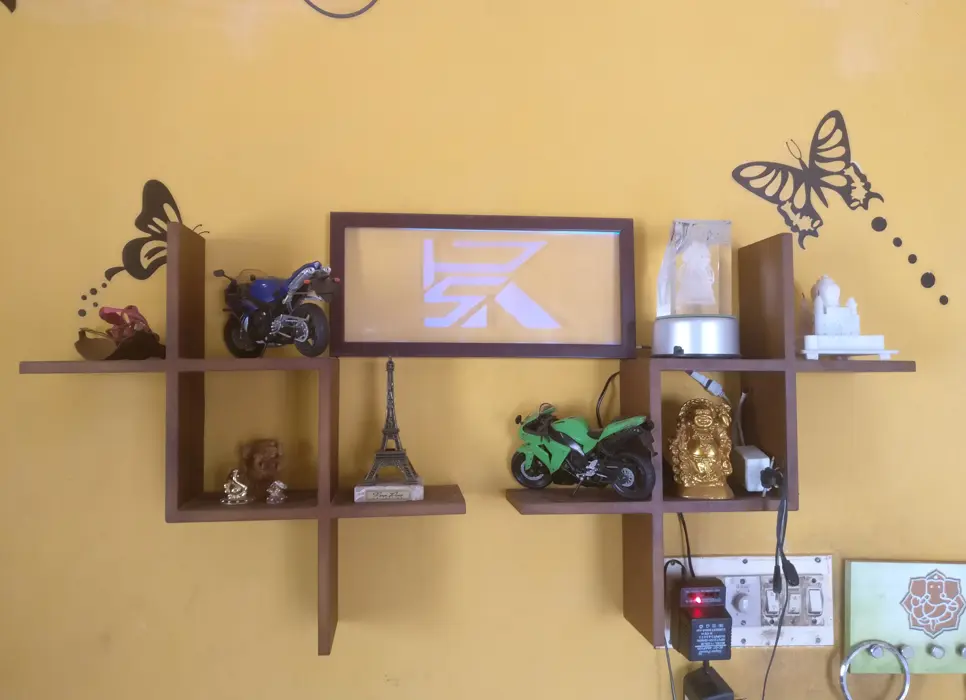
Connected to a 5V supply, and the result was immediately satisfying.
How it works
Light travels from the LED strip in straight lines through the acrylic and emerges at the top of the plate. To illuminate the engraved pattern, the light beams need to be deflected toward the viewer. Scratching the surface does exactly that: each tiny groove deflects the light rays that hit it. For a uniform glow, all the scratches need to share the same orientation.