Ambilight, short for "ambient lighting", is originally a lighting system for televisions developed by Philips, however today it is used in reference to all types and brands of ambient lighting in the context where lighting is utilized to complement the light coming from your main display.
Ambilight creates light effects around the television that correspond to the video content, with claimed a more immerse viewing experience can be the result if done right. Ambilight is a lighting system that actively adjusts both brightness and color based upon picture content. Integrated into the television cabinet, Ambilight technology is aimed to enable the viewer to see more picture detail, contrast, and color while eliminating on-screen reflections.
First Iteration
The main part of this Ambilight clone is a string of individually addressable LEDs blocks I found on eBay. Each LED has its own chipset and a single line is used for communication.
Other components were:
- Arduino Uno
- Mini breadboard
- A few breadboard cables
- 12V DC Power Adapter
- Double-sided tape
You could implement the logic in many forms. Some of the methods I explored are:
- Using an Open CV application to capture the desktop and isolate the border pixels into blocks, then get the RGB value for each block and pass it over to the LEDs behind the corresponding block.
- Implement similar logic in Matlab.
- Use a media solution that has an Ambilight plugin.
I tried these solutions and preferred the media solution plugin as it was less messy to debug. I went with Kodi media player and its plugin which you can find here
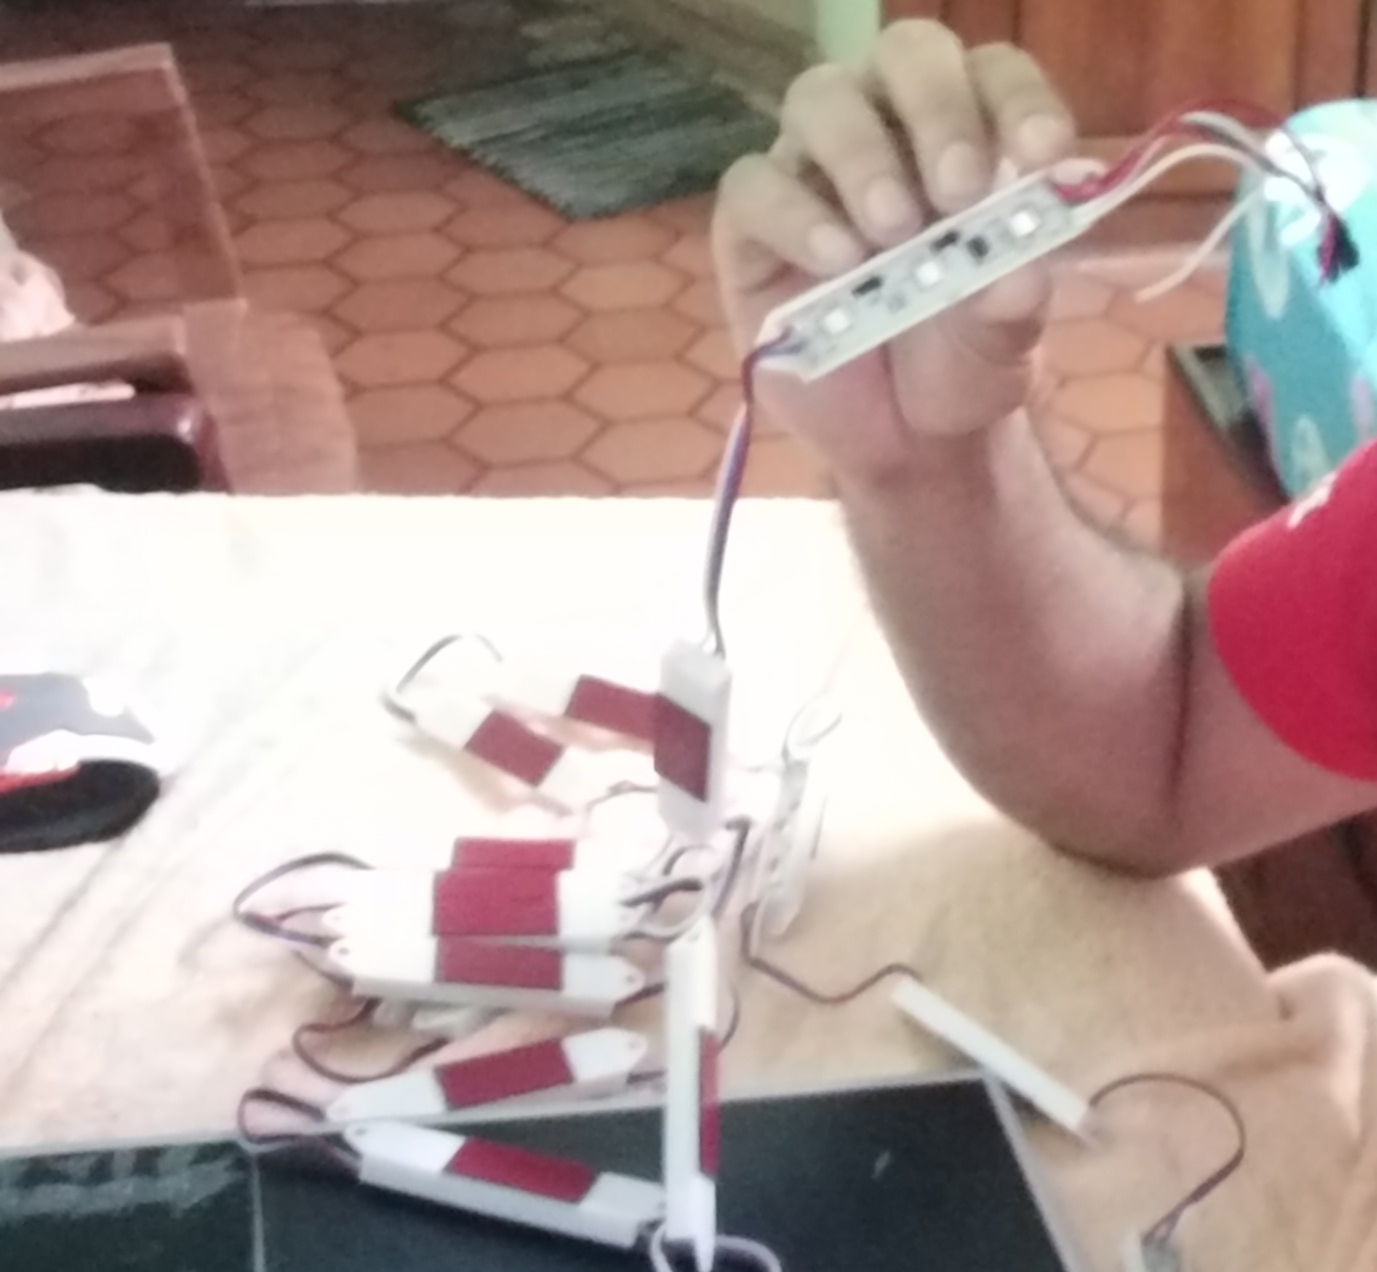
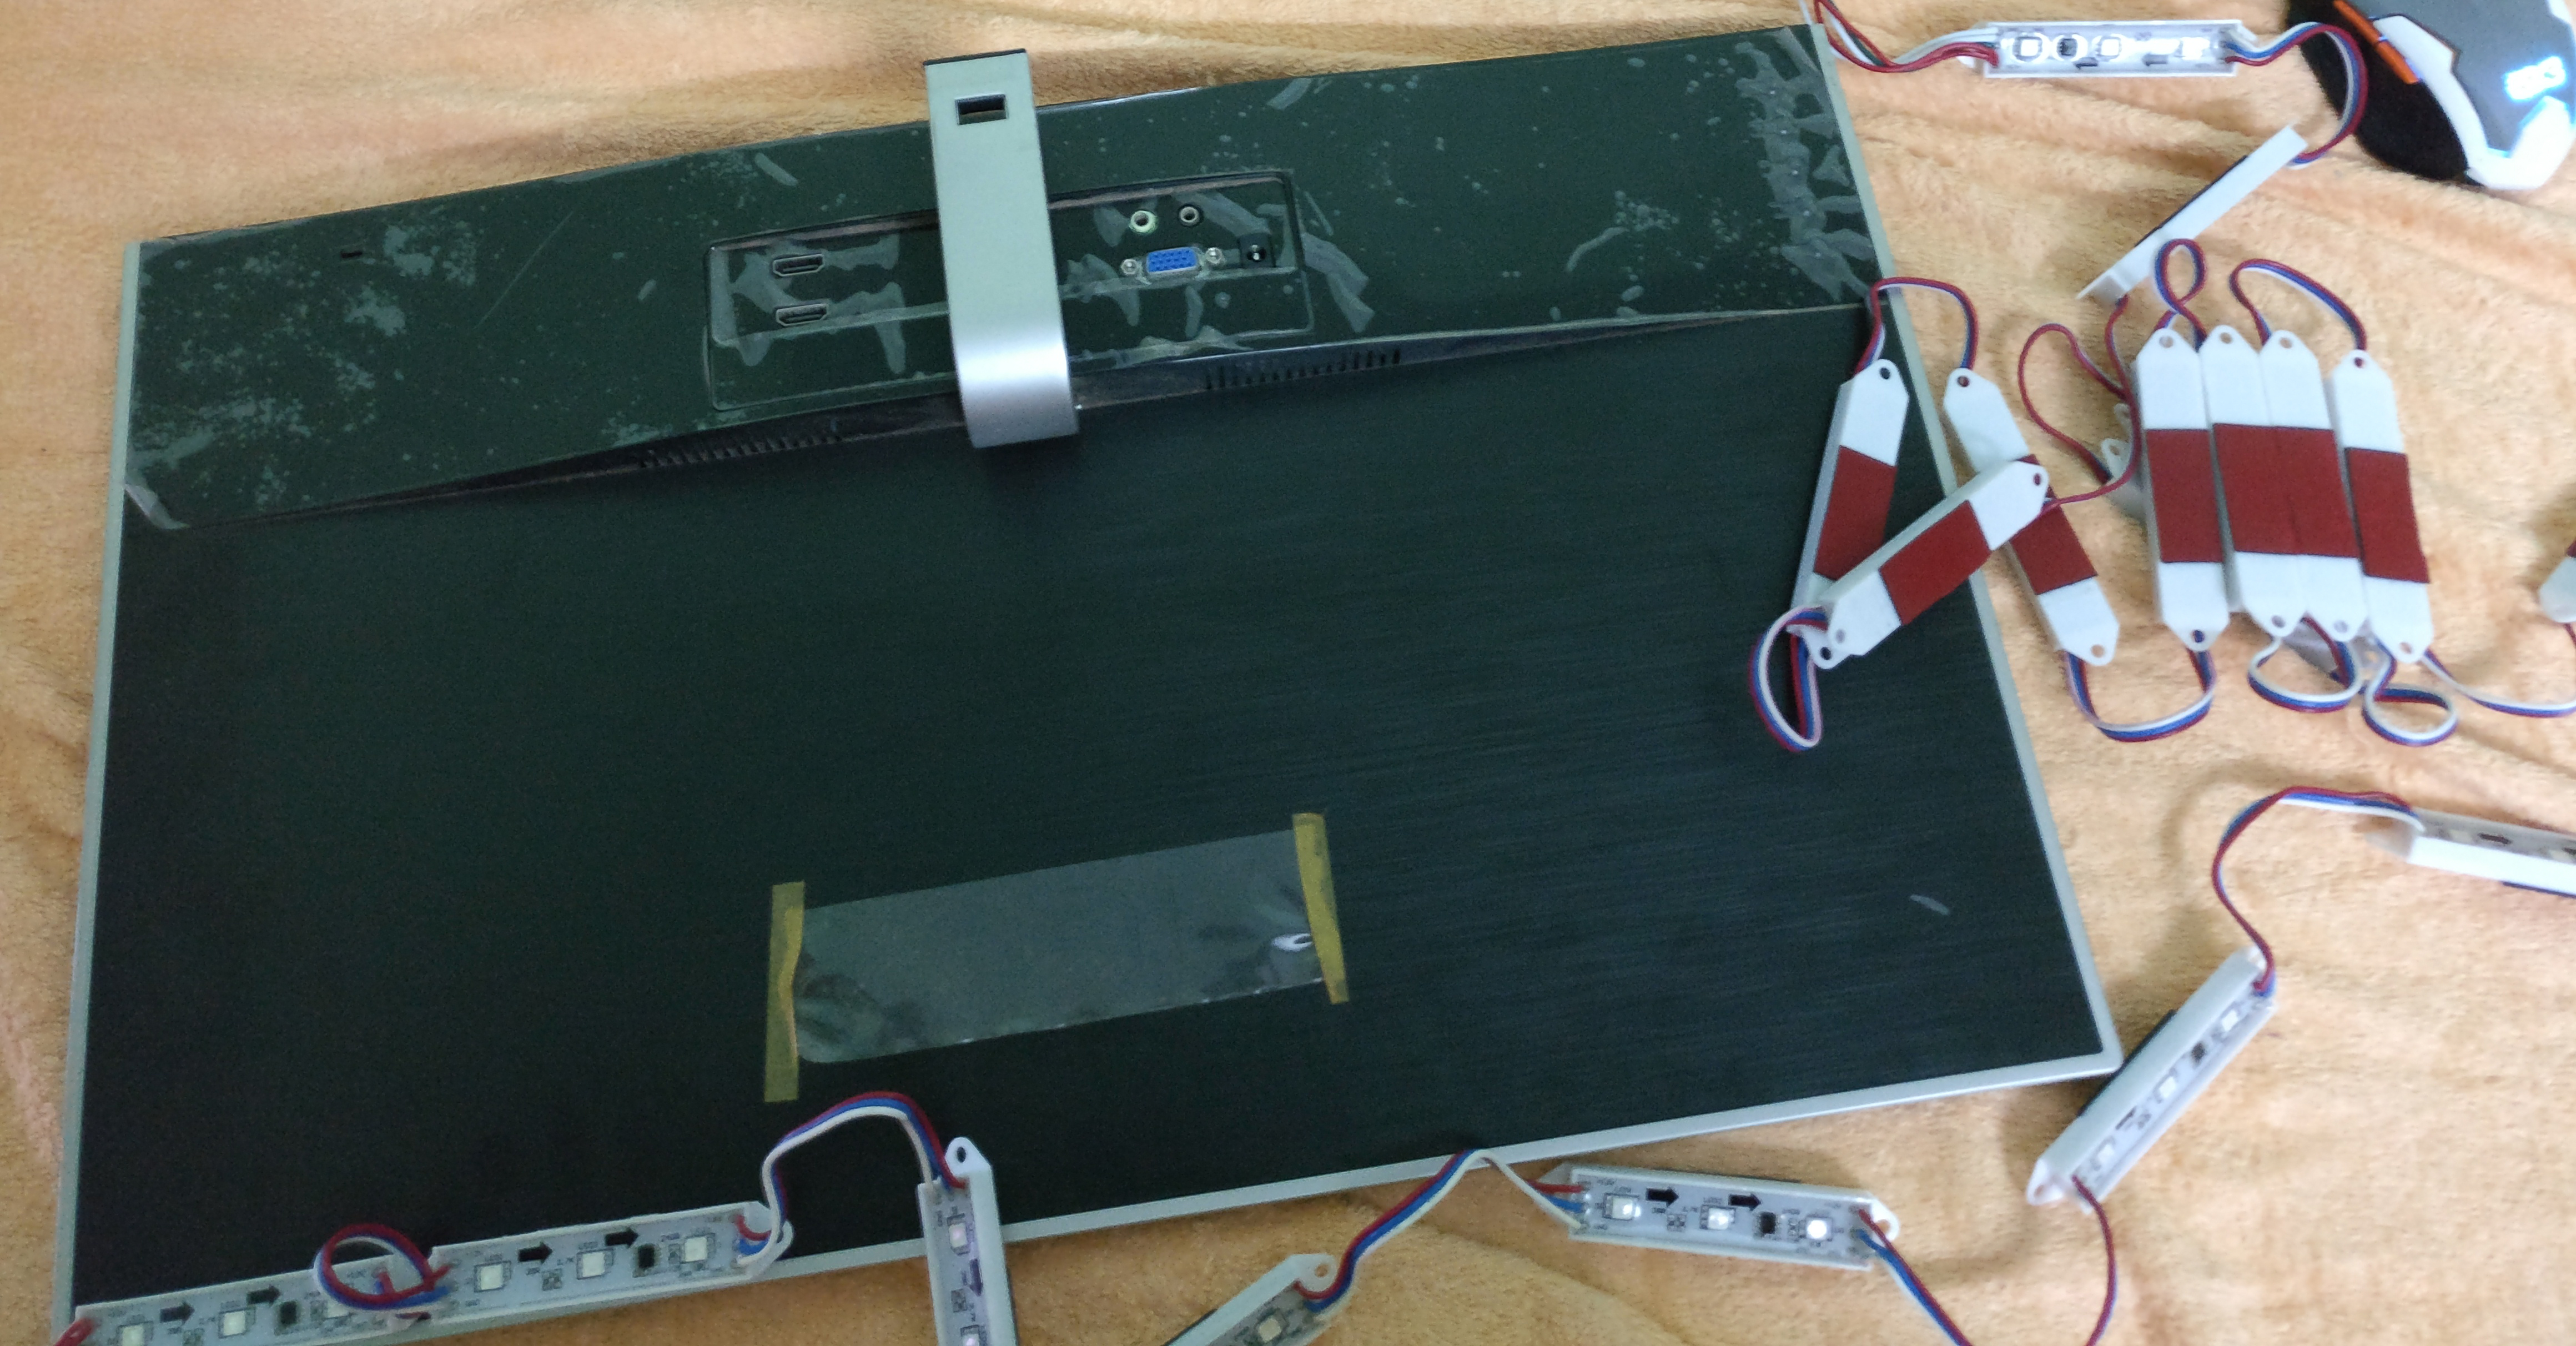
Placing Led blocks along the edges
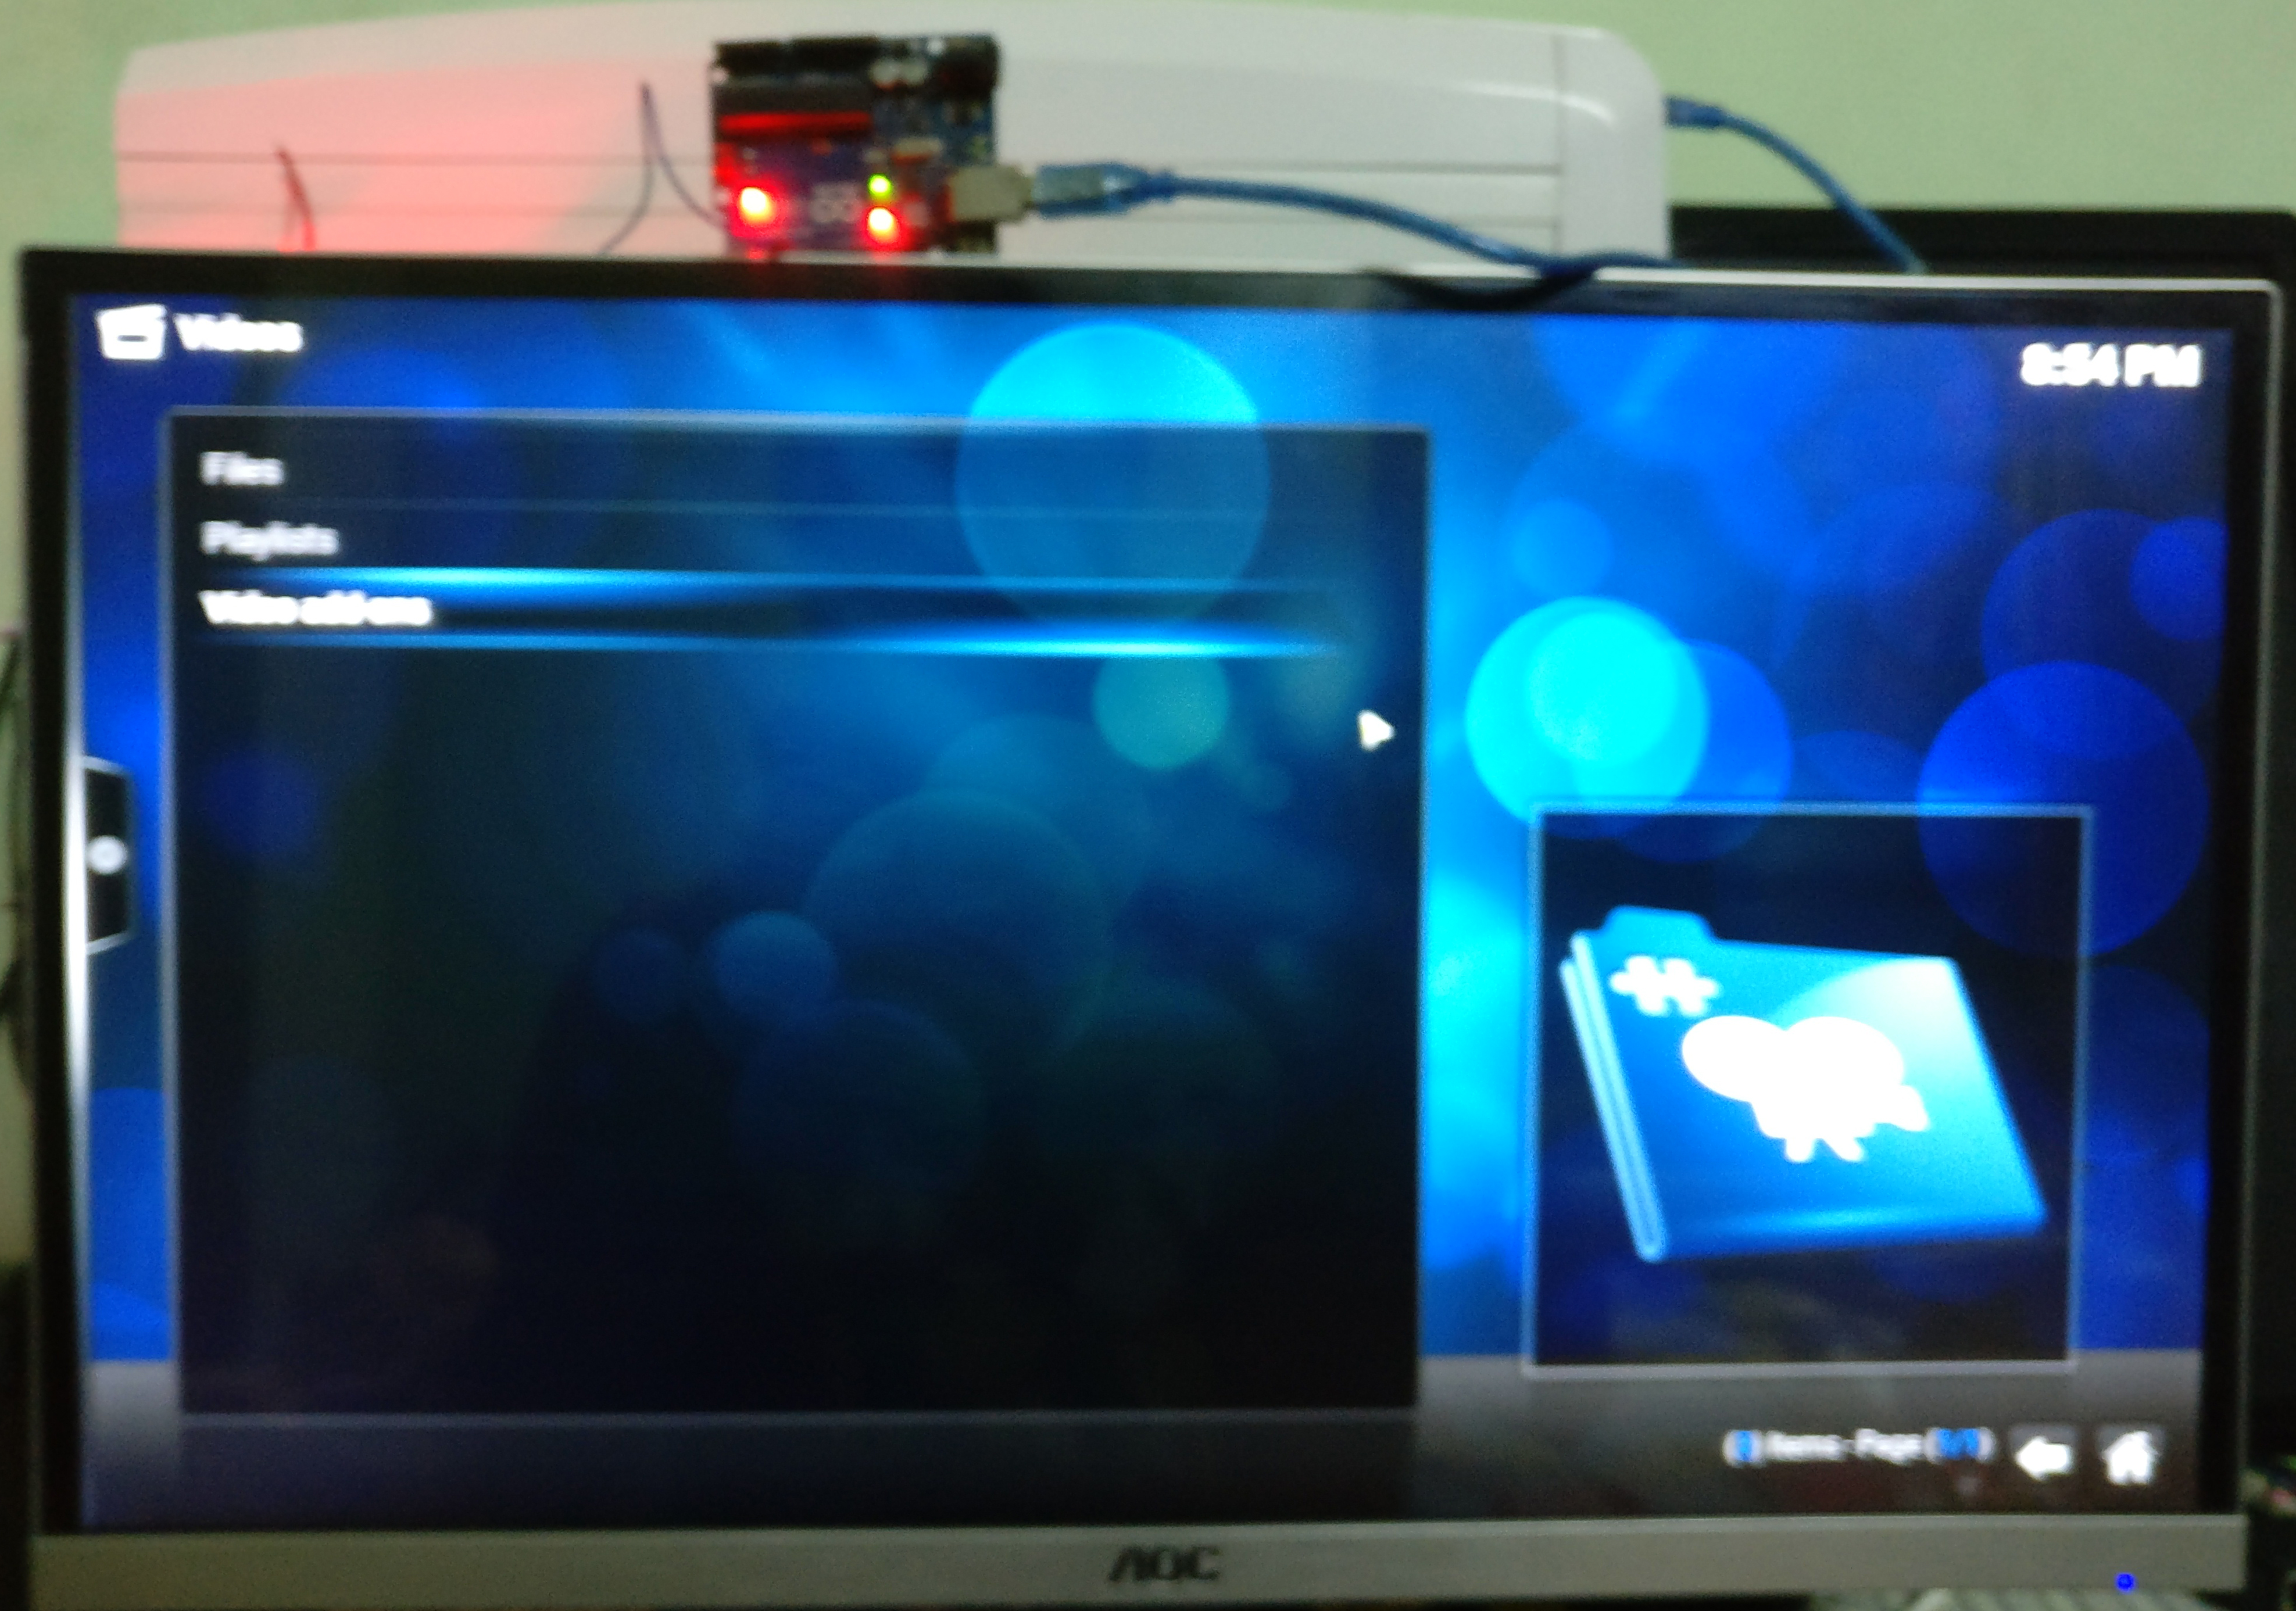
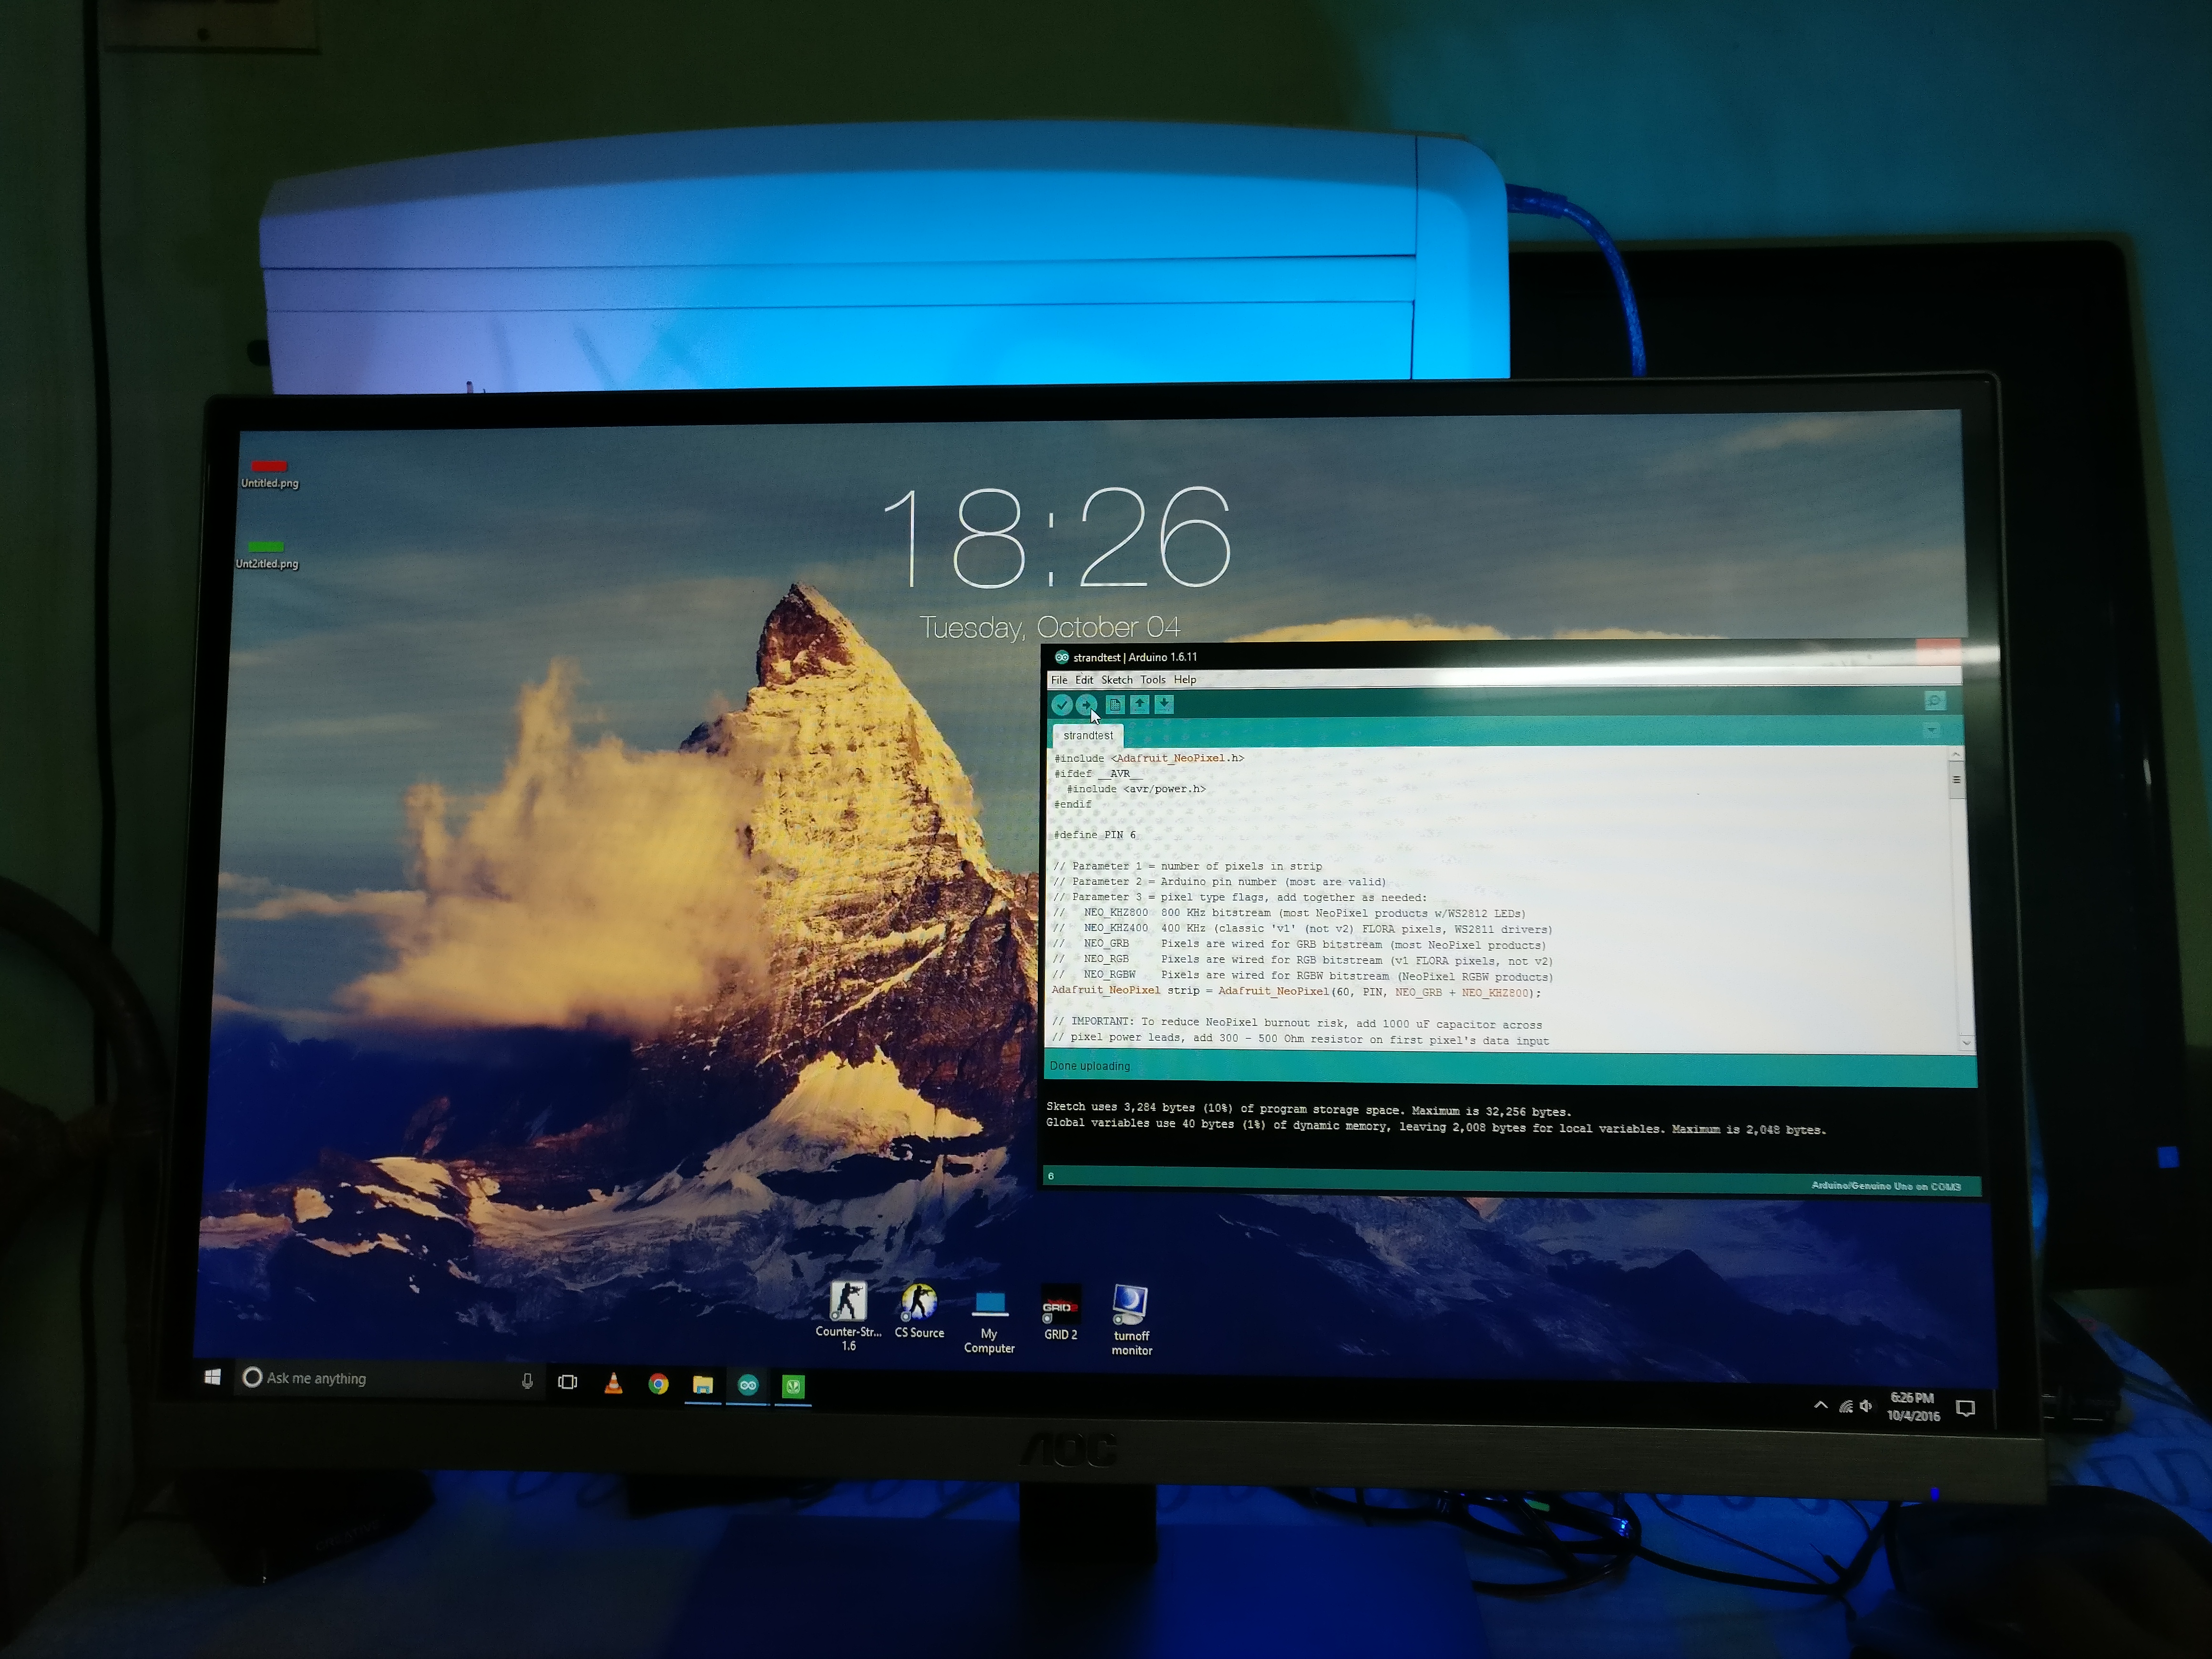

Here is the video sample of the first iteration:
Second Iteration
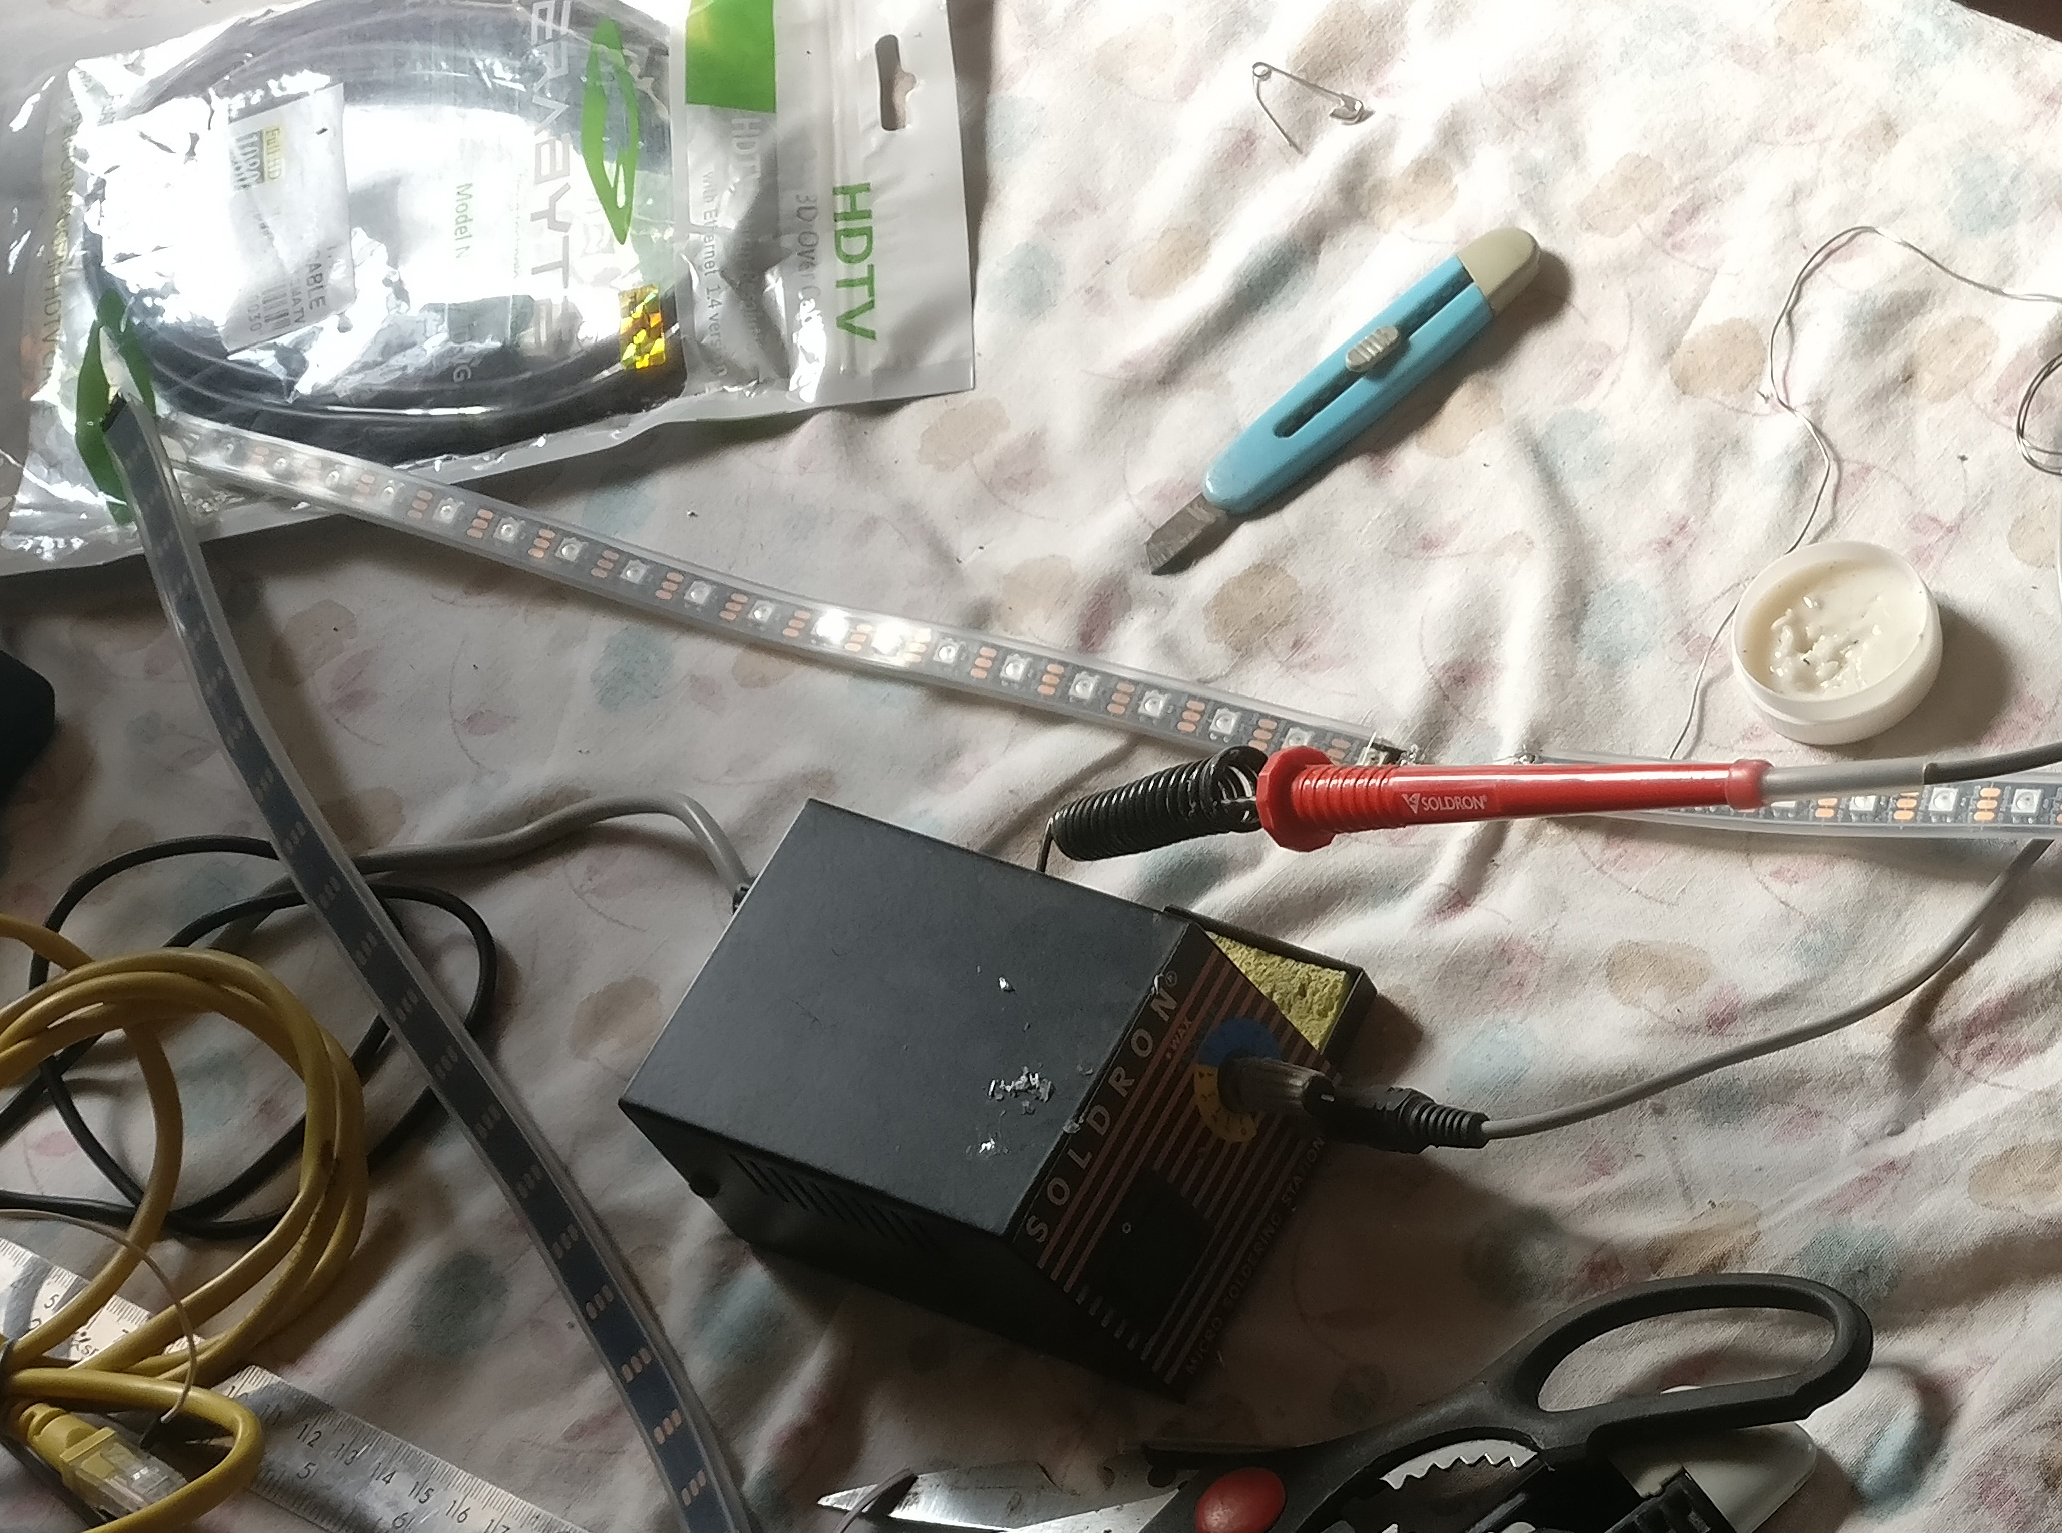
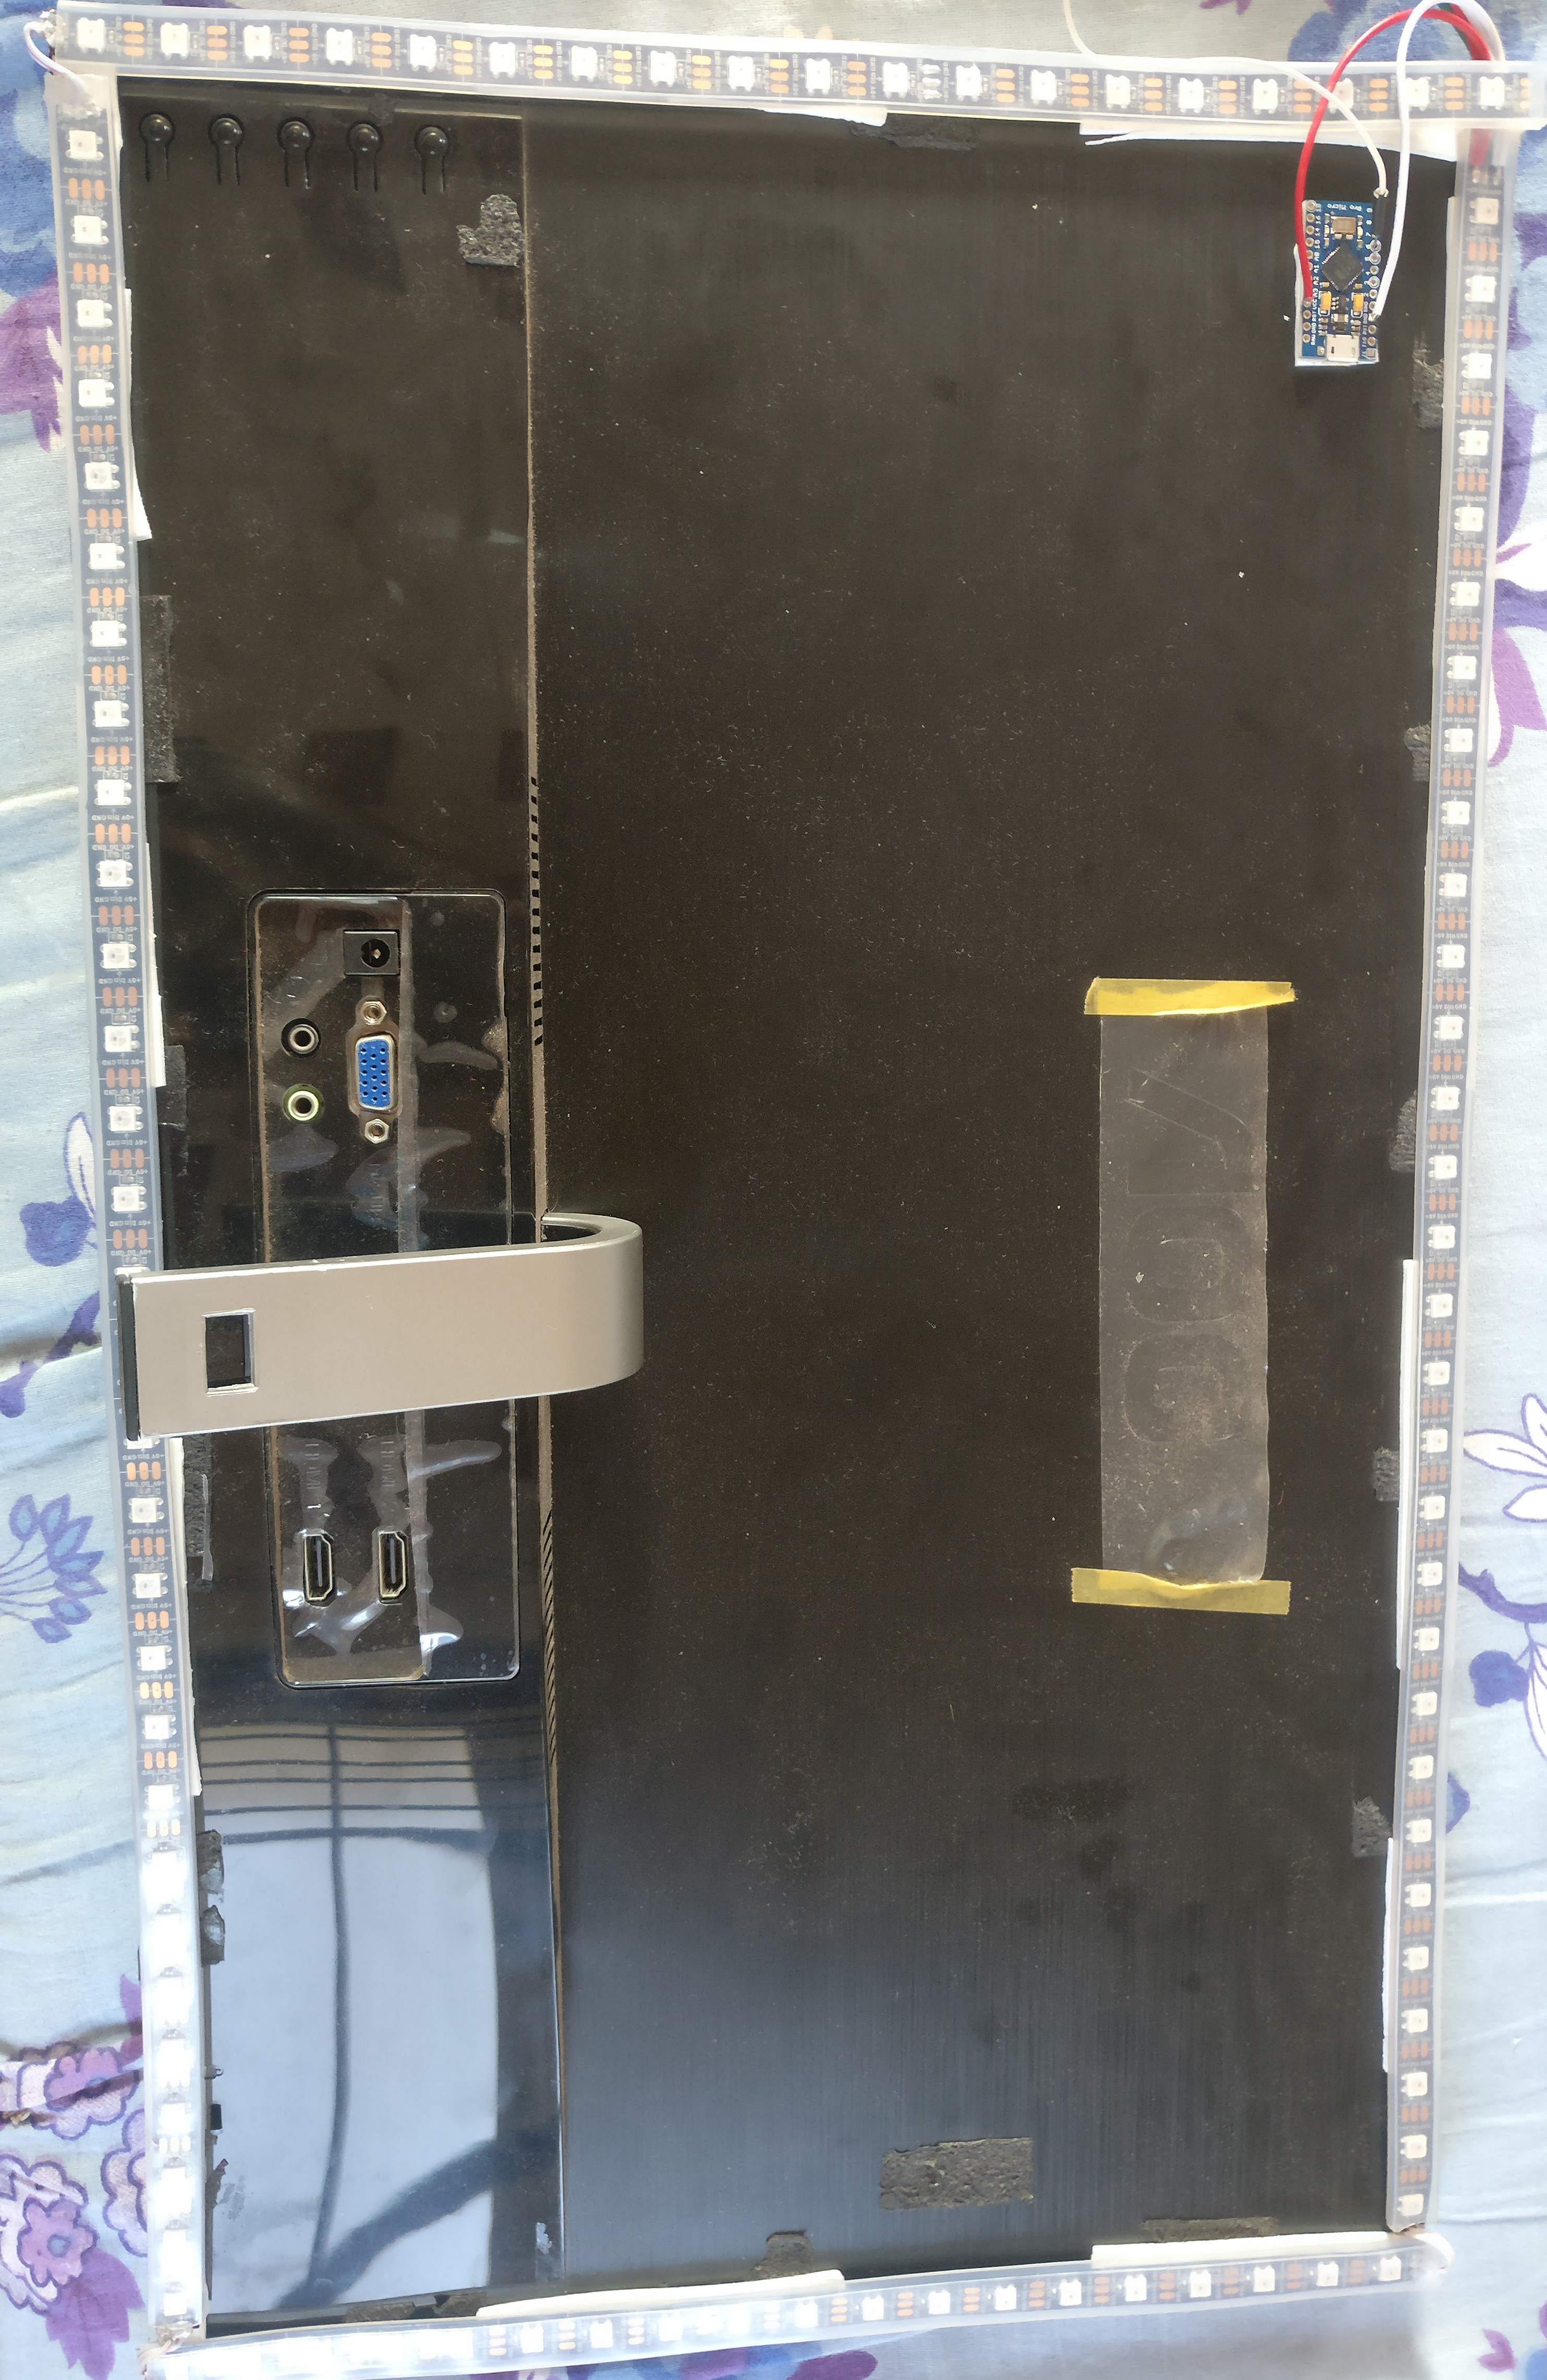
Taking into account the lessons learned in the first iteration, I improvised the solution using WS2812B LED strips. These looked much cleaner and were able to accommodate a lot more LEDs in a given space. An Arduino nano was used to obtain a compact form factor. The led strip was cut to length and soldered back to get them aligned to the backside of the monitor.
Here is a video sample from the second iteration:
